In recent years, more and more construction design professionals are upgrading to working in BIM (building information modelling) and most commonly AutoDesk Revit is their software of choice. The reasons for making the investment are clear, BIM offers far greater efficiency, collaboration and organisation to traditional 2D ways of working in CAD. This in turn boosts productivity and saves money in the long term. Another important consideration for practices hoping to work on public projects, is the UK government mandate that all construction firms must be BIM level 2 certified to work on government projects.
BIM implementation can be a daunting task for any architecture practice. For it to be successful, careful planning must be involved and a gradual implementation process should be engaged. The process is not without risks and challenges, however the benefits of a managed transition to BIM + Revit are significant both in the short and long term of the practice.
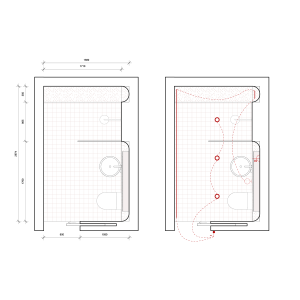
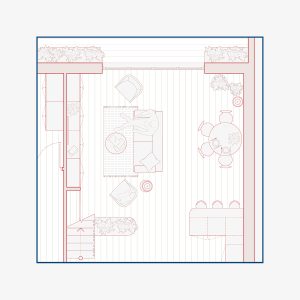
Many smaller scale architecture practices believe that the advantages of working in BIM and using Revit software apply only to large scale or commercial projects of larger firms. This couldn’t be further from the truth. Working in Revit on small scale or domestic projects has huge benefits to architects in terms of efficiency in the production of drawing information and in maintaining the consistency and quality of drawing output. Revit also has excellent capabilities when it comes to developing the finer details construction and bespoke interior elements of small, domestic or interior projects.
Revit, when used correctly, is also capable of producing beautiful drawing output in a range of different graphic styles. The means to achieve this is very different to how we would approach this in CAD. Our blog post How to create beautiful drawings in Revit, documents how to optimise Revit graphic capabilities to achieve the best possible results.
Advantages of Revit + BIM for SME’s

Efficiency
Revit is well known for its efficiency in generating large volumes of drawings and drawing information. As Revit houses all 2D and 3D information in one model, there is greater consistency across drawings, there is greater ease of referencing between drawings as they are all contained in one file and updating of drawings is simultaneous. It is this automation that is the core of Revit’s efficiency.
Consistency
The nature of working in BIM means that all information is contained in one model and all drawings are generated from that one geometry. The benefits of this is the consistency of drawings across the project and the building elements are updated simultaneously across the project.
Standardisation
One of the key advantages to working in BIM is that it is a highly organised way of working. For this reason, a more standardardised way of managing project information must be adopted. This leads to a considerable amount of work and training when transitioning to working in BIM but pays huge dividends in the long run with time and effort saved.
Organisation
A Revit model generates highly-structured building information and organises it in such a way that it can be easily accessed and can be used and presented in a multitude of different ways. The Revit browser itself provides a highly organised structure for all views, schedules, sheets, families, groups, linked Revit models, and other parts of the current project. The categories and sub-categories can be expanded and collapsed as and when you need to access its contents. Each element of a Revit model has the capacity to carry information and meta-data relating to an a multitude of different parameters such as the performance, classification, identity, cost, function, appearance and makeup of that element.
Collaboration
Working in BIM facilitates better collaboration between the project team, as well as the wider design team. Within the project team, individuals are all working on the one model, rather than isolated parts or drawings in separate files. This ensures that the development of the model and drawing output is a more collaborative and cohesive process.
Coordination
Coordination across the design team is made much easier in BIM. The building project is in the 3D environment which enables a better understanding of how the building works and how its various elements fit together.
Steps to transitioning to Revit for Small Practices:
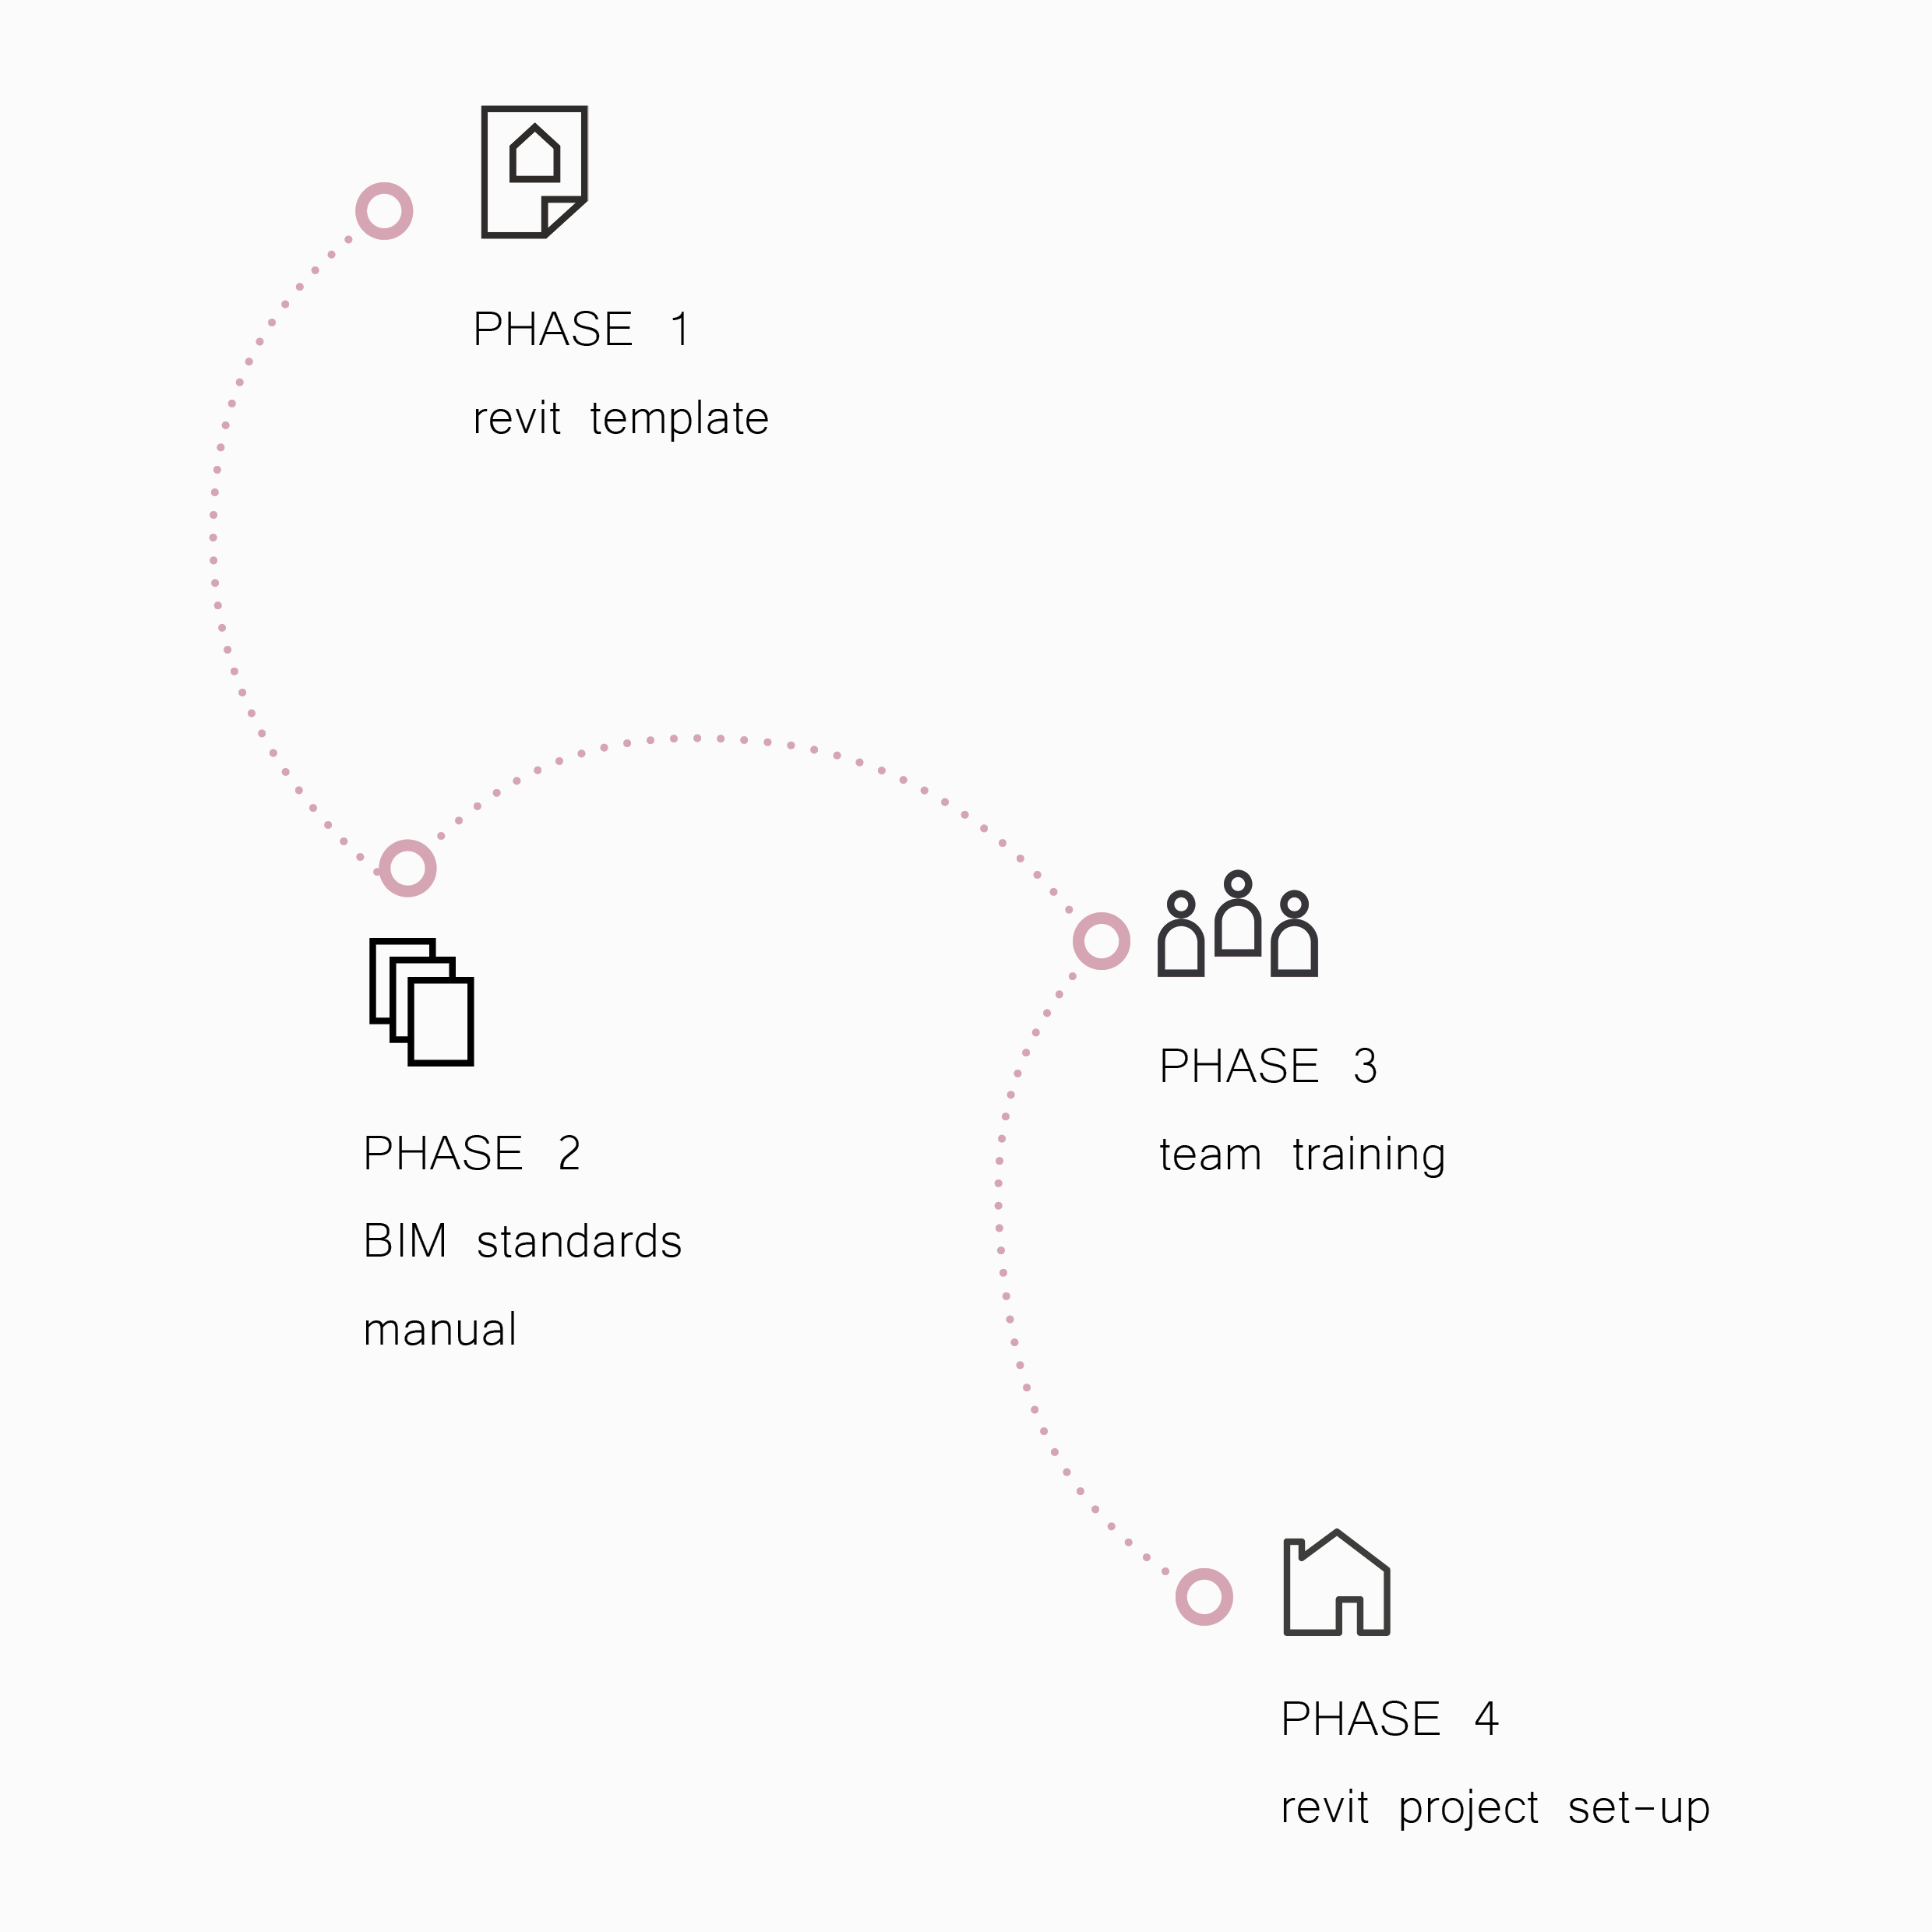
Phase 1
Revit template
The essential first step to working in Revit is to create a Revit template. A good template will economise your time and streamline your workflow. Developing your template will give your practice a head start in the production of quality drawing output from Revit, in a structured and efficient manner.
Your Revit template can be created in the following ways:
Build it from Scratch:
It can be built by you or your team from scratch (see our blog post How to create a Revit template from Scratch). Remember a default architectural Revit template also comes as standard with the Revit package, however its ability to produce quality drawings is rather limited. It can be used as a basis to build your own custom Revit template by adapting the in-built settings, annotations and families.
Purchase a ready-made template:
There are ready-made Revit templates available to purchase, download and use with your Revit software. See our Revit template guide for more details on our Revit template. These templates are easy to tweak and update as you may need to suit the branding or standards of your practice.
Custom built template:
Many BIM service providers will build a custom Revit template for your practice for you for a fee. They will integrate any specific features, branding or standards that you may need.
Phase 2
BIM standards
Establish your practice’s standards for working in BIM + Revit and document this in reference manuals. Outlining these best practices guidelines will enable you to maintain BIM standards across projects and carry out team training efficiently as you transition to Revit.
Your BIM standards documents should include details on how to use your template, naming conventions for all views, sheets, families, groups and other elements within the model, best practices for working in BIM, how to audit and maintain your model and how to drawings should be organised and catagorised.
See our Best Practice Guide, for an outline of the important guidelines to follow when working in Revit. It is free to download and can be used as part of your practice’s suite of BIM standards.
Phase 3
Team Training
Training your team is one of the biggest challenges in transitioning to Revit. It is essential to make sure your team is familiar with the fundamentals of working in Revit as well as your practice specific Revit template and BIM standards, before they embark on a project. To ensure that everyone’s skills are up to scratch, the team can practice and develop their skills in the early stages of their training by working on ‘dummy’ models to start. It is good practice to have a “BIM lead” or member of the team that is skilled in Revit who can oversee the project to ensure that that the BIM standards are being followed and that the model is being regularly audited.
Phase 4
Live Project Set-up
The final step is to build a current live project into a fully BIM enabled model by using your Revit template and BIM standards. Use the live model as a tool for practical, hands-on Revit training for team members who have already established a base knowledge in Revit.
Check Out our Free Resources + Downloads
To maintain the health of your model as it evolves, ensure that Revit best practices are being followed. See our Best Practice Guide, for an outline of the important guidelines to follow when working in Revit. It is free to download and can be used as part of your practice’s suite of BIM standards.
To save yourself the time and effort of creating a Revit template from scratch, we have done all the work for you! Through rigorous testing and development we have built a full Revit Graphic Template for purchase. To learn more about our custom made templates, download our Free Template Guide from our home page. Visit our home page or our LinkedIn page for further information.
Download our free Revit Template Checklist below for more information on how to build a Revit template from scratch.
Please feel free to leave a comment below or get in touch at hello@projectbyn.com if you have any questions or need any more information. We would be happy to hear from you.