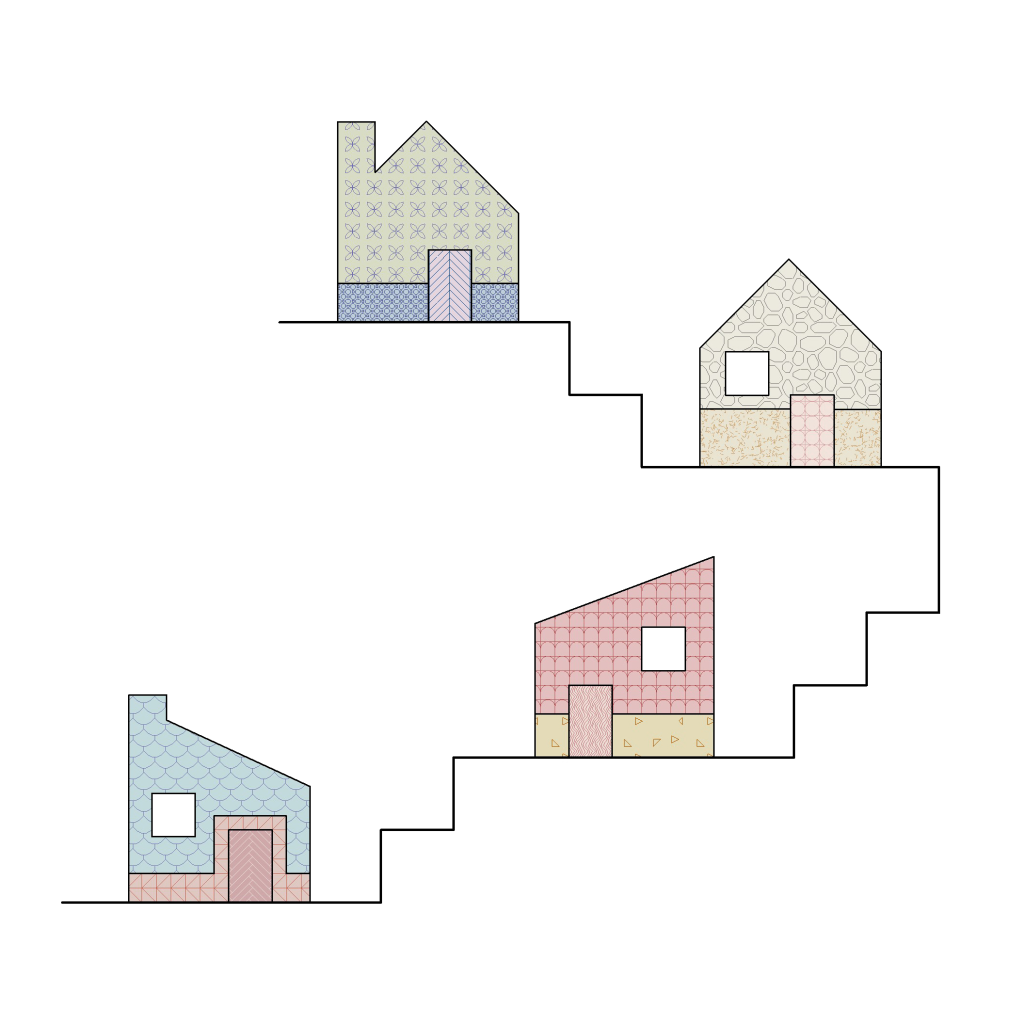
Revit is an incredibly powerful tool for architects, engineers, and designers, offering a wide array of customisation options to help you create professional, high-quality drawings. One of the most impactful ways to enhance the visual appeal and clarity of your Revit drawings is by customising patterns. Whether you’re working on a plan, section, or elevation view, the ability to adjust pattern styles, colours, and line weights can make a huge difference in how your design is communicated.
In this guide, we’ll take you step by step through the process of customising Revit patterns. By following these steps, you’ll not only improve your drawings’ aesthetics but also ensure that your designs are more legible and professional-looking, enabling better collaboration and presentation.
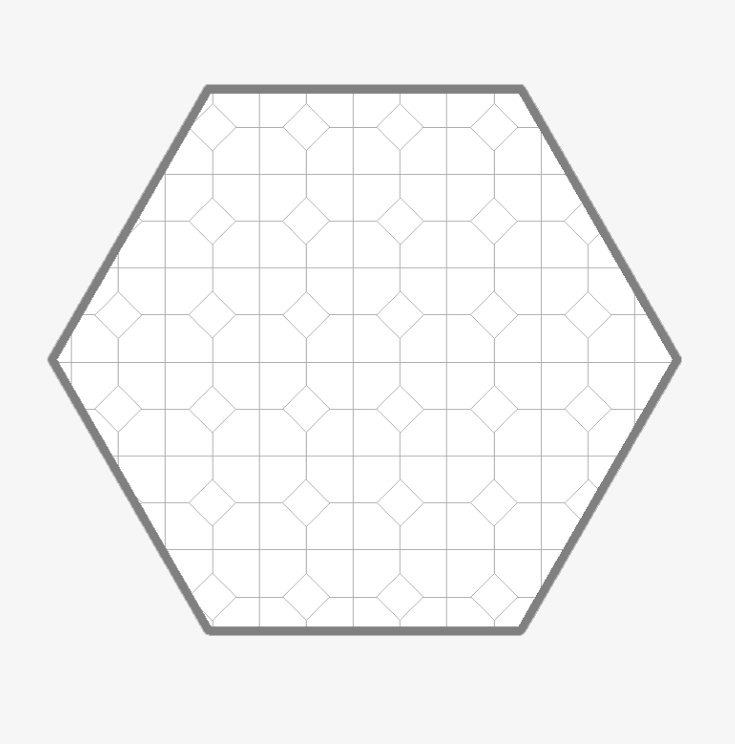
The first step to customising Revit patterns is selecting the filled region in the view. A filled region is used to represent areas with specific patterns and colours within your drawing. This can be used for a variety of purposes, such as filling walls, floors, and other elements with patterns that provide clarity.
Here’s how to do it:
Navigate to a view (such as plan, section, or elevation view) where you want to modify the filled region.
Locate the filled region you wish to modify and click on it to select it. You might need to use the Modify tool to ensure it is selected properly.
Once you’ve selected the filled region, the next step is to adjust its type properties. This allows you to control the fill pattern, colours, line weight, and other visual aspects of the pattern.
Follow these steps to edit type properties:
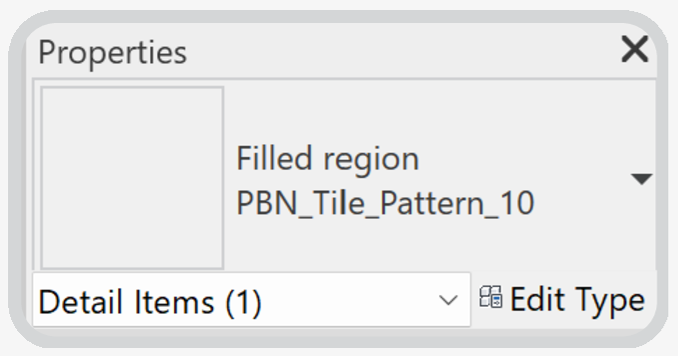
After selecting the filled region, open the Properties Palette.
On the left side of the palette, find the option for Edit Type and click on it to open the Type Properties dialog box.
To save these new settings as a reusable fill region type, click Duplicate in the dialog. Enter a unique name for the new type to easily identify it for future use.
This step is where the real customisation happens. Revit provides you with a wide range of options to adjust the appearance of the pattern, from colour choices to pattern styles and line weights.
Here’s how to adjust these settings:
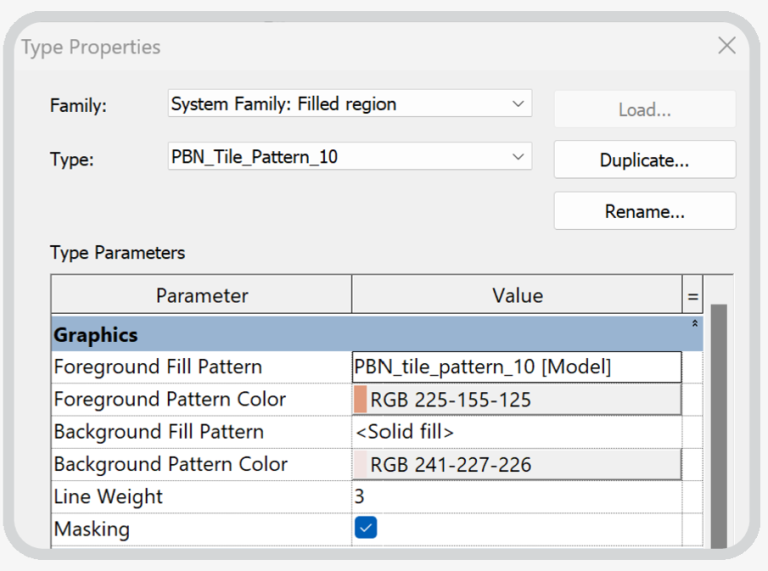
In the Type Properties dialog, locate the Graphics section, which includes Foreground Fill Pattern, Background Fill Pattern, Line Weight, and colour options.
Foreground and Background Patterns: These control the fill patterns for both the foreground and background of your selected region. Click on the pattern dropdown menu to choose a new pattern from the available library.
Colours: Click the colour box next to Foreground Colour or Background Colour to choose or define a specific colour. This will change the colour of the filled region, helping you create a visually appealing design.
Line Weight: Adjust the line weight by selecting a thickness from the dropdown. Line weight determines the thickness of the pattern lines, which is essential for making your drawing clearer and easier to interpret.
Pro Tip: Using different colours and line weights can enhance the visual hierarchy of your drawing, making important areas stand out more. Consider using contrasting colours for different elements to improve readability.
After customising your pattern styles, colours, and line weights, it’s time to apply the changes to your drawing.
Here’s how to finalise your adjustments:
Once you’re happy with the changes you’ve made in the Type Properties dialog, click OK to apply the new settings.
Revit will update the filled region with the new pattern, colours, and line weights.
To further refine the visual appearance of the filled region, you can adjust the boundary outline. Simply click on the filled region again and select Edit Boundary from the modify ribbon. From there, you can adjust the line style of the boundary to match your design.
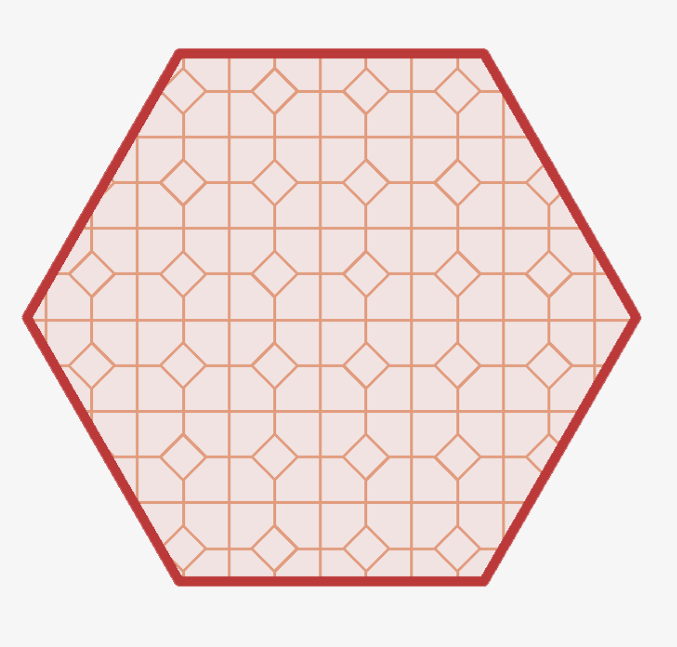
Customising patterns in Revit is a simple yet effective way to elevate the quality of your drawings. Whether you’re creating architectural plans, section views, or detailed elevations, the visual clarity provided by custom pattern styles can make all the difference. Here’s why it matters:
Enhanced Readability: Custom pattern styles allow you to differentiate between various materials, such as concrete, wood, and brick. This improves the legibility of your drawings, ensuring that stakeholders can easily understand the design.
Professional Appeal: Custom colours and line weights make your drawings look polished and professional, helping you make a strong impression with clients and colleagues.
Efficient Collaboration: Clear and distinct pattern styles help other team members better interpret your designs, reducing misunderstandings and ensuring smoother collaboration on projects.
Tailored to Your Needs: Customising patterns lets you create styles that reflect your specific project requirements. This flexibility ensures your design is accurately represented in a way that fits your vision.
By taking the time to customise your Revit pattern styles, colours, and line weights, you can significantly improve the visual quality of your drawings. The ability to fine-tune your patterns gives you the power to create professional and clear designs that communicate your ideas effectively. Follow this guide to unlock Revit’s full graphic potential and make your drawings stand out!
For more useful Revit tips and tricks, see our blog posts below or follow us on social media: instagram and linkedin.
We provide a full suite of custom Revit Filled Regions with our PRO and LITE Revit Templates. Find out more by downloading our FREE Revit Template Guide from our Home Page.
