BIM is revolutionising how architects, engineers, and designers produce drawing information—and Autodesk Revit is leading the charge. With its power to streamline collaboration, improve communication, and enhance design and construction workflows, Revit is a vital tool in the AEC industry. But when it comes to crafting beautiful drawings from Revit, many still believe it falls short.

At Project by n., we believe differently.
We’re passionate about pushing the boundaries of Revit’s graphic capabilities. Our mission is to explore new ways to craft elegant, artfully composed 2D drawings from Revit models. By dedicating time and care to mastering the software’s visual tools, we’ve discovered that Revit can produce stunning drawings – ones that communicate clearly and look beautiful too.
Here, we share some key strategies, tips, and insights into how you can elevate your Revit output. We’ve also created a sample Revit project and downloadable template guide to help you create your own beautiful drawings from Revit.

“I prefer drawing to talking. Drawing is faster and leaves less room for lies.”
Le Corbusier
Drawings are a powerful communication tool in architecture. Whether created by hand or exported from a BIM model, a drawing must communicate ideas clearly and effectively. At Project by n., we believe that every concept deserves to be represented by drawings that are not only legible and precise – but beautiful.

Revit’s visual hierarchy controls how every element is presented. Here’s how to use these tools to create striking, professional-quality Revit drawings:
Set your global line weights, patterns, colours, and materials. This is your first stop for clean, consistent graphic output.
Define how 3D components appear in rendered and shaded views. Use custom surface patterns and colour schemes to add character and richness to your drawings.
Apply consistent graphics across multiple views. Templates save time, ensure uniformity, and help you meet your own office’s graphic standards.
Adjust these to reflect a refined visual language. A considered use of line quality goes a long way in elevating the aesthetics of your Revit sheets.
A curated library of fill patterns – solid, hatch, or custom -adds depth and clarity to your drawings. Tailor them to match your design identity.
Consistent text styles improve both legibility and visual cohesion. Set up a range of sizes and fonts that work at different scales and uses.
From custom section heads to graphic symbols, well-designed annotations are essential. Build a library of elegant, reusable Revit annotation families for clean, well-structured drawings.
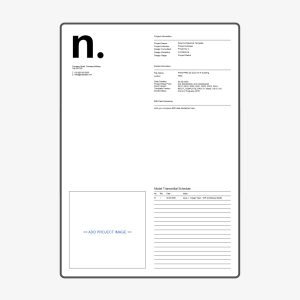
Ready to create beautiful drawings from Revit? We’ve developed a comprehensive Revit Template Guide, available for free on our home page. This guide outlines key settings and tips for view templates, graphic elements, and annotations. It’s based on our own Revit workflow and is designed to help you build your own graphic standards
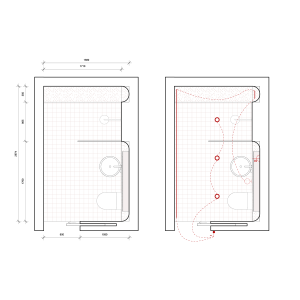
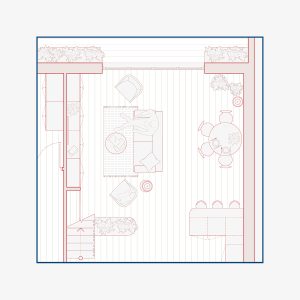
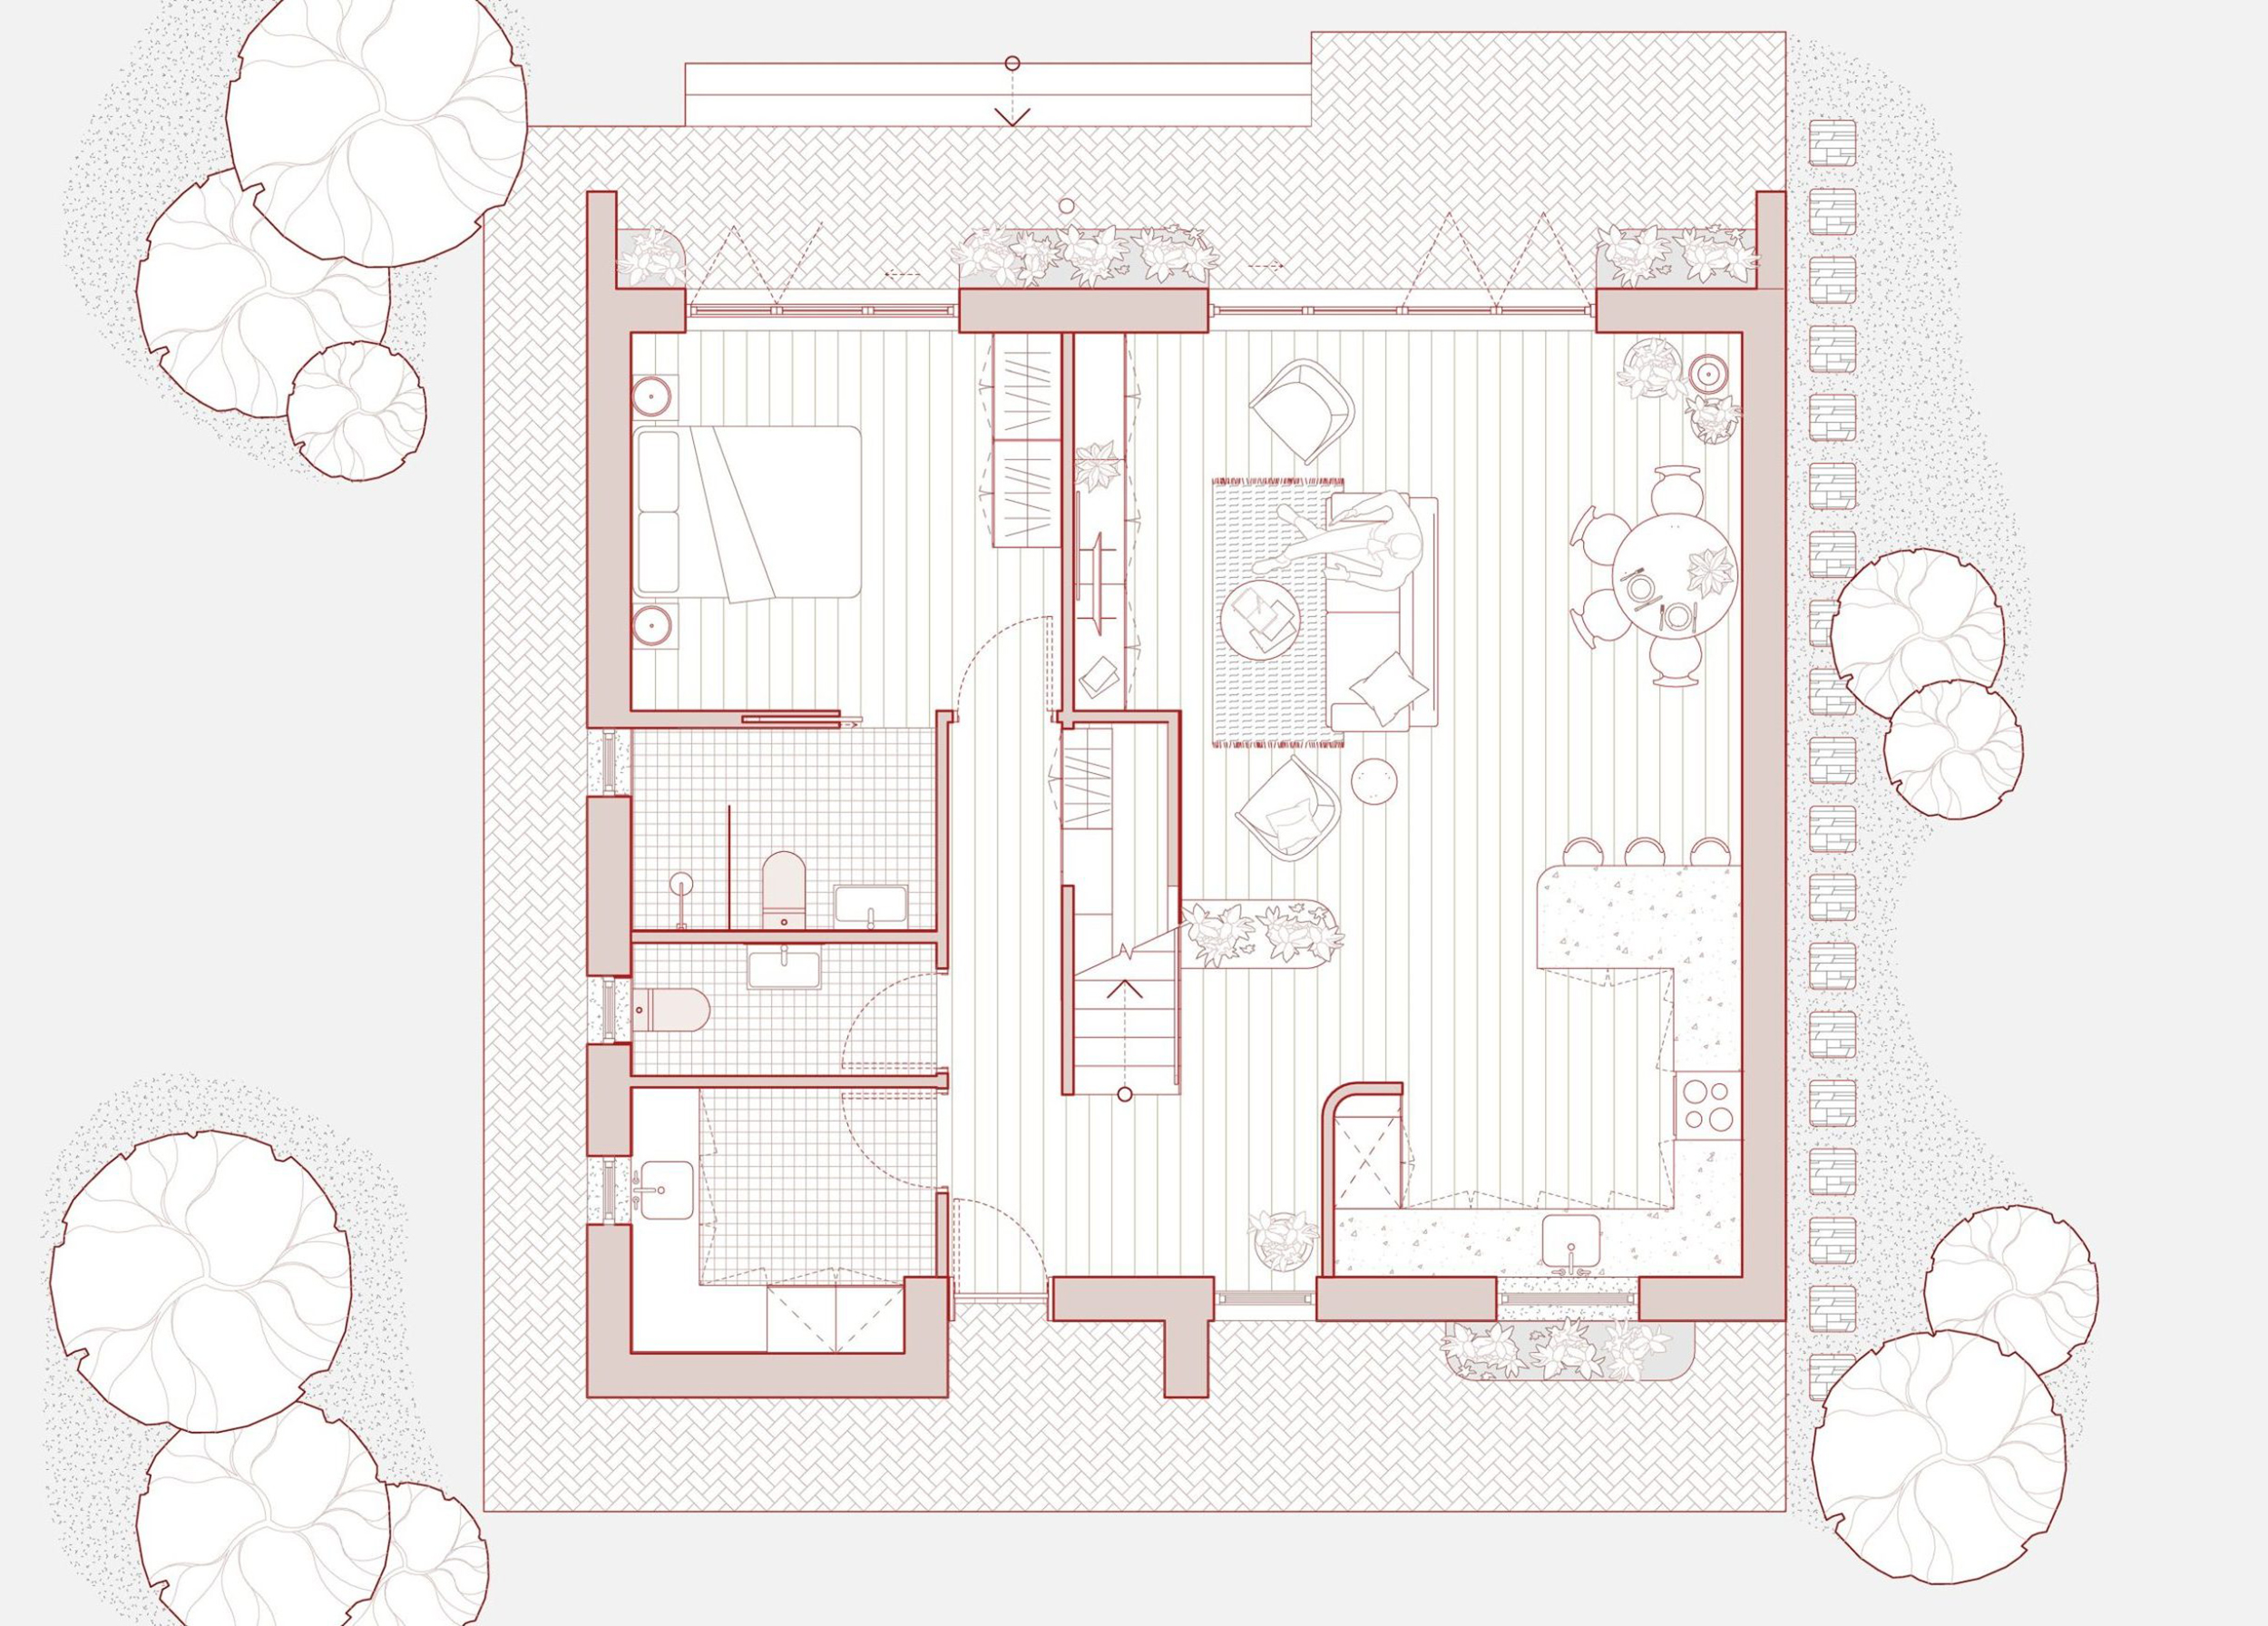
Want to see what’s possible? Explore our sample Revit drawings created with our custom Revit Graphic Template. These demonstrate how thoughtful settings and graphic discipline can transform Revit’s output into high quality architectural drawings.
You can download the sample Revit project and get a sense of what’s achievable with a bit of time and a lot of intention.
To save yourself hours of setup and testing, check out our Revit Graphic Template – available for purchase. It’s a fully developed system for creating beautiful drawings in Revit, ready to drop into your projects.