Creating a Revit template is one of the first and most essential steps in working with Autodesk Revit. A well-designed template saves time and streamlines your workflow, helping you deliver consistent, high-quality architectural drawings with ease. Whether you’re an architect, a BIM consultant, or an architecture student, knowing how to build a Revit template that suits your practice’s needs is key to maximising your efficiency.
This guide will walk you through the process of building a Revit template from scratch, ensuring that your template is well-organised and fully customisable.
A Revit template serves as the foundation of your Revit project. It should reflect the specific needs of your practice and adhere to your architecture studio’s graphic style. A custom template allows you to organise your drawings, sheets, and views to simplify navigation through the complex Revit browser.
A good template includes custom settings, parameters, and pre-drafted elements that make creating architectural drawings faster and more consistent. Let’s dive into the key steps to create a template that works for your team.
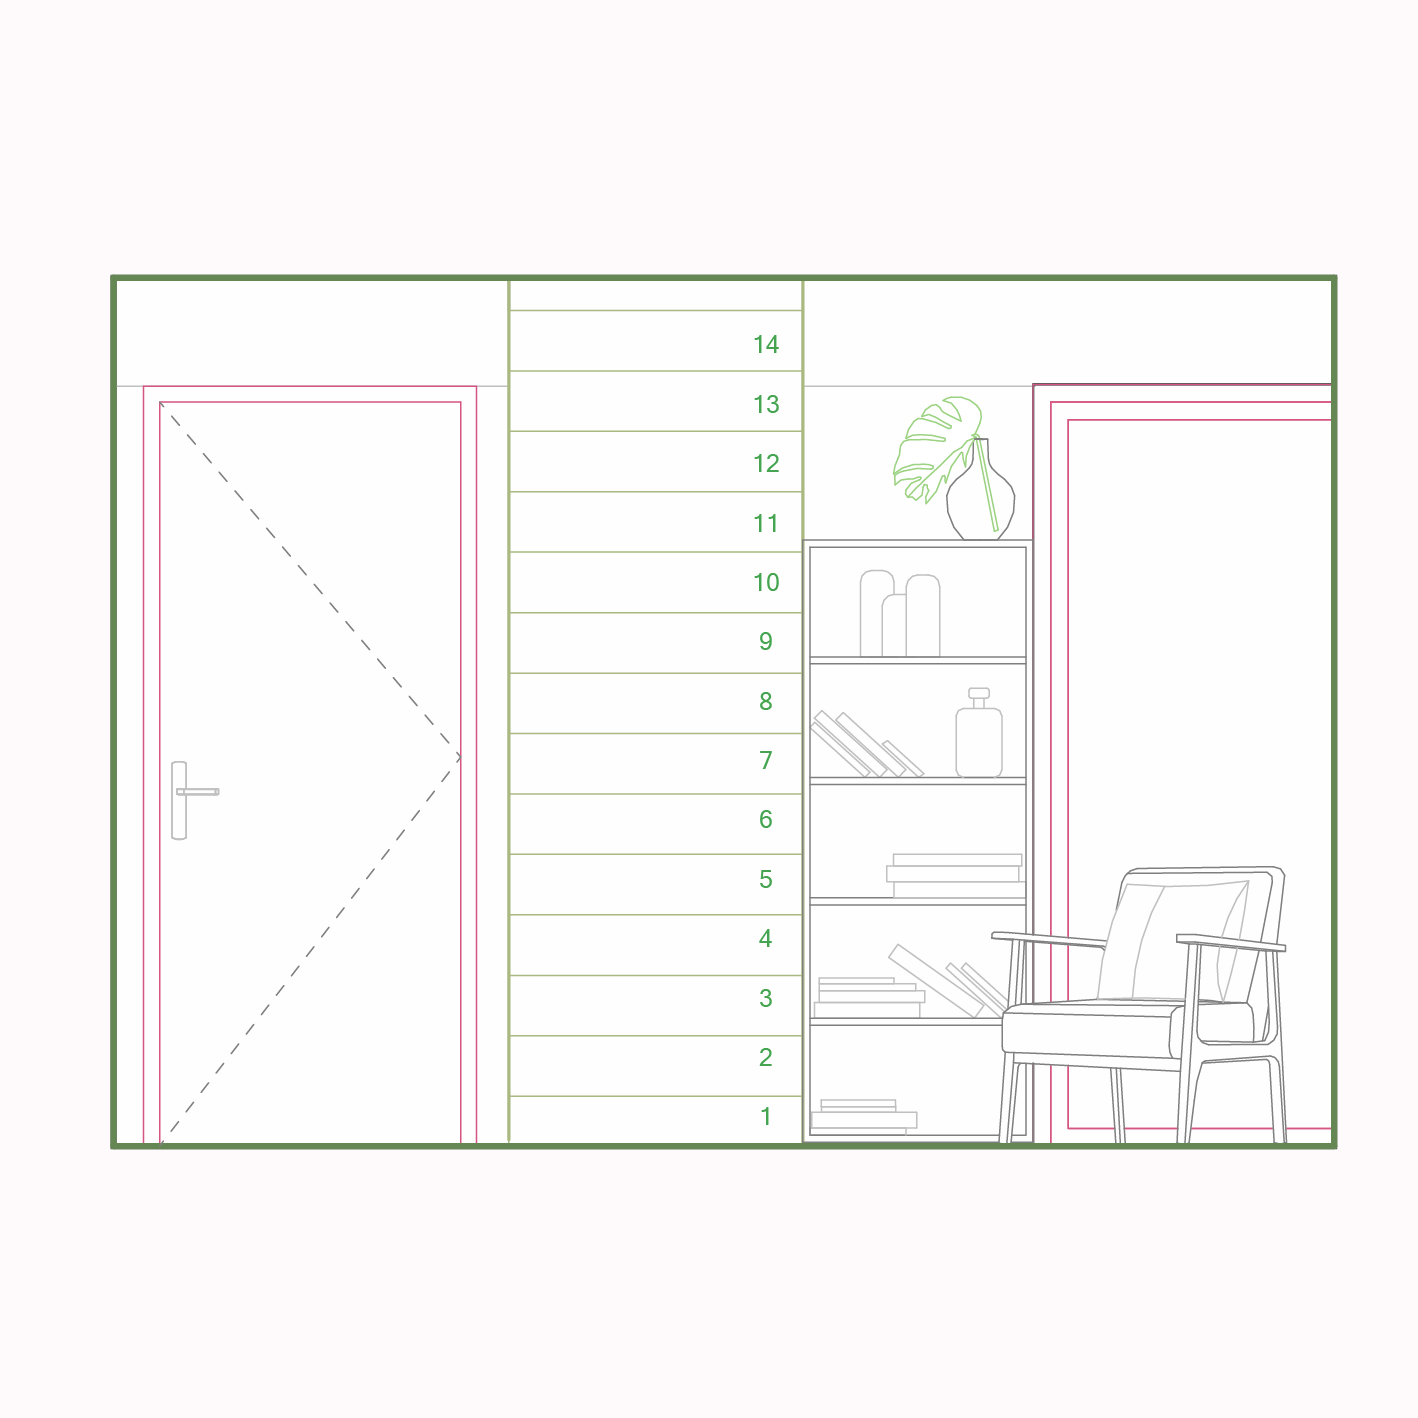

image: Project by n. free Revit template guide
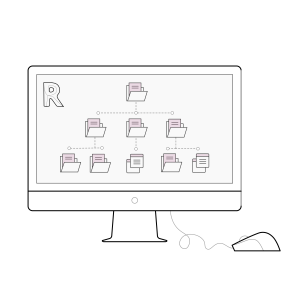
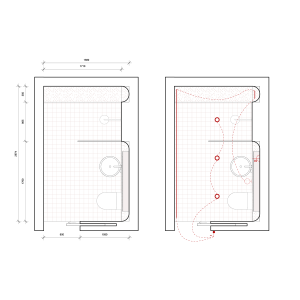
One of the first steps in creating a Revit template is setting up the browser for efficiency. The Revit browser is where all your views, sheets, schedules, and legends are organised, so it’s crucial to set it up in a way that aligns with your industry standards.
Use integrated categorisation parameters so that you can easily add and organise sheets as the project progresses.
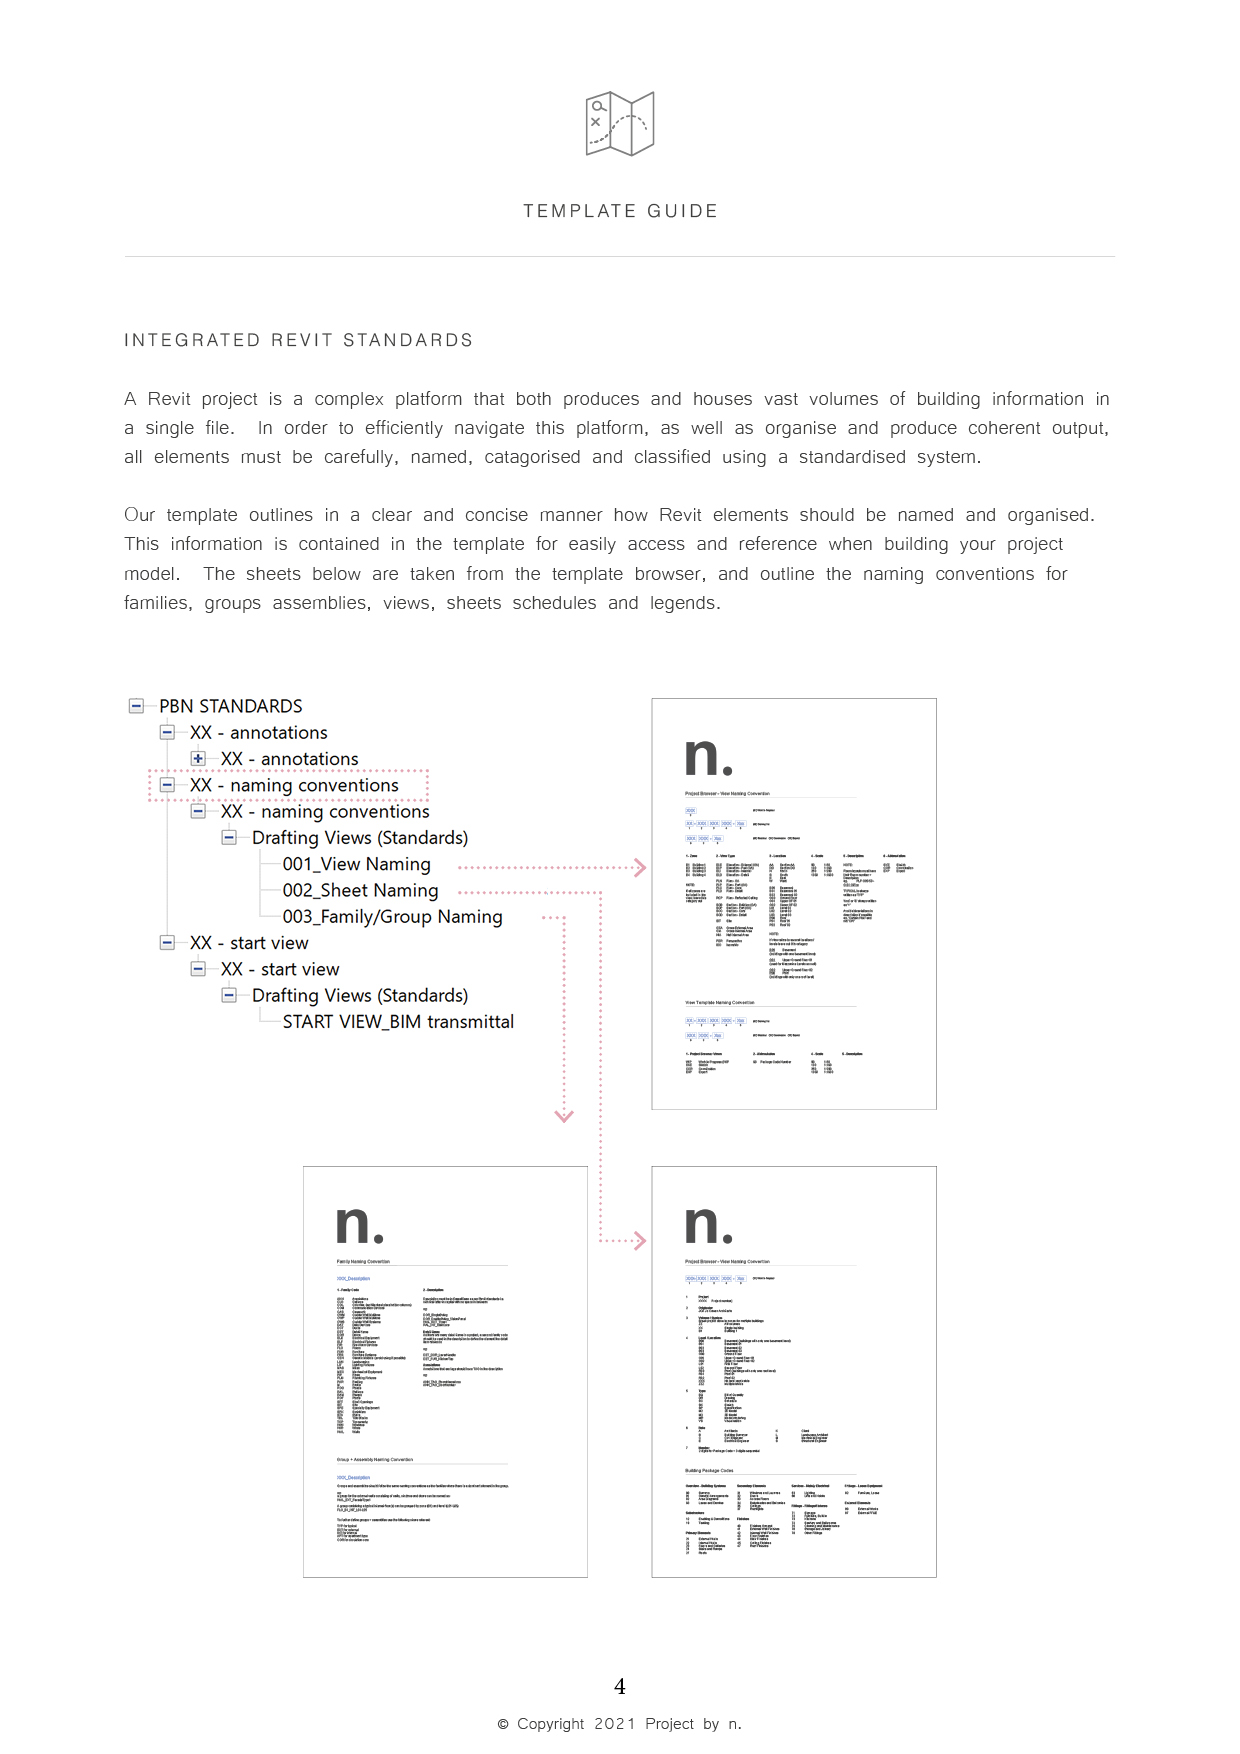
image: Project by n. free Revit template guide
To maintain an organised Revit model, it’s essential to establish naming conventions and standards. Include these guidelines directly in the Revit template to save time and avoid referencing separate documents.
This ensures consistency throughout the project lifecycle.
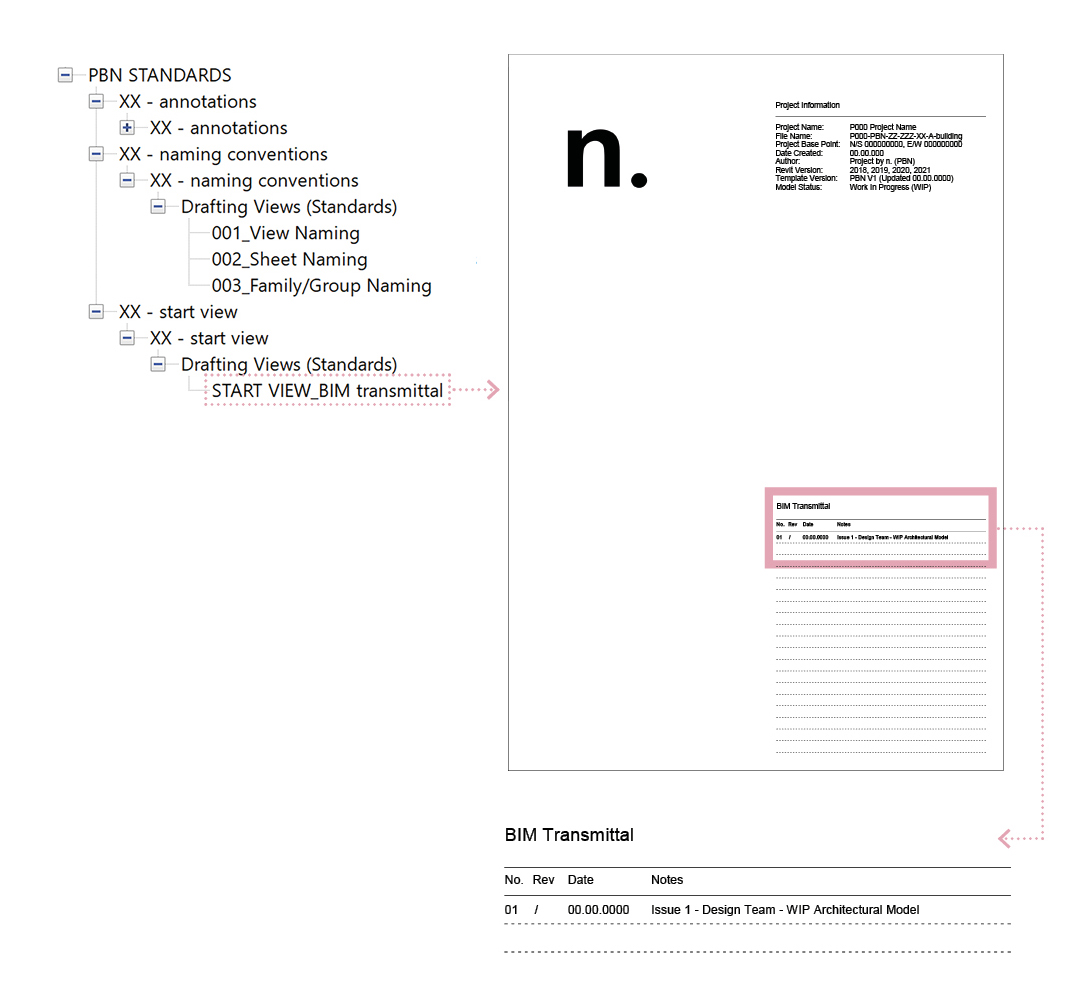
image: Project by n. free Revit template guide
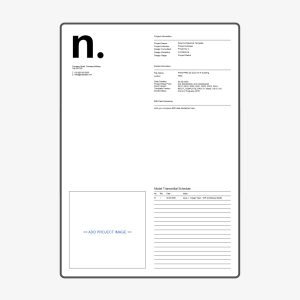
Every Revit template should include a start screen, which also functions as a BIM transmittal sheet. This can be a drafting view set as the default view when opening the project file. The start screen should include key project information such as:
Additionally, a BIM transmittal sheet should record when and for what purpose the model was issued. Including your practice’s logo and a project image can also help with quick project identification.
Title blocks are an important part of any Revit template. They should reflect your practice’s branding and meet your studio’s standards. Start by setting up the following title blocks:
Ensure that each title block contains integrated parameters such as scale bars, north signs, and revision schedules. These parameters will allow for quick changes to individual sheets and help maintain consistency.
Title blocks for schedules should also be included in your library and incorporated into the template. We recommend placing all your standard title blocks on a single sheet within the template, stored alongside the rest of your standards. This makes them easy to view, select, and modify as needed.

image: Project by n. free Revit template guide
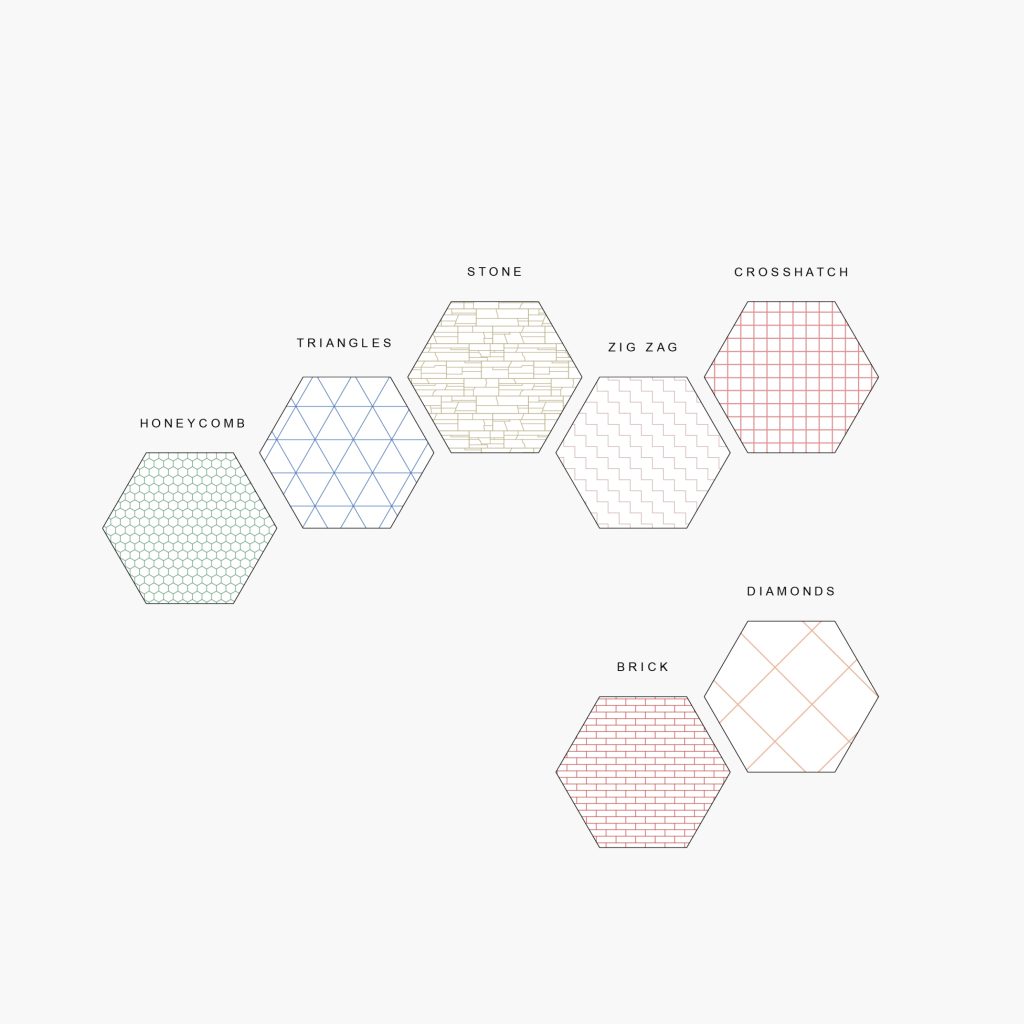
Once your organisational elements are in place, focus on setting up your graphic standards. Begin with line styles and filled regions.
Filled Regions: Use opaque or transparent colours, and choose a range of patterns to enhance your drawings and presentations.
Lines: Revit includes a default set of line styles, but you can add your own. Keep the number of custom line styles minimal to avoid confusion.
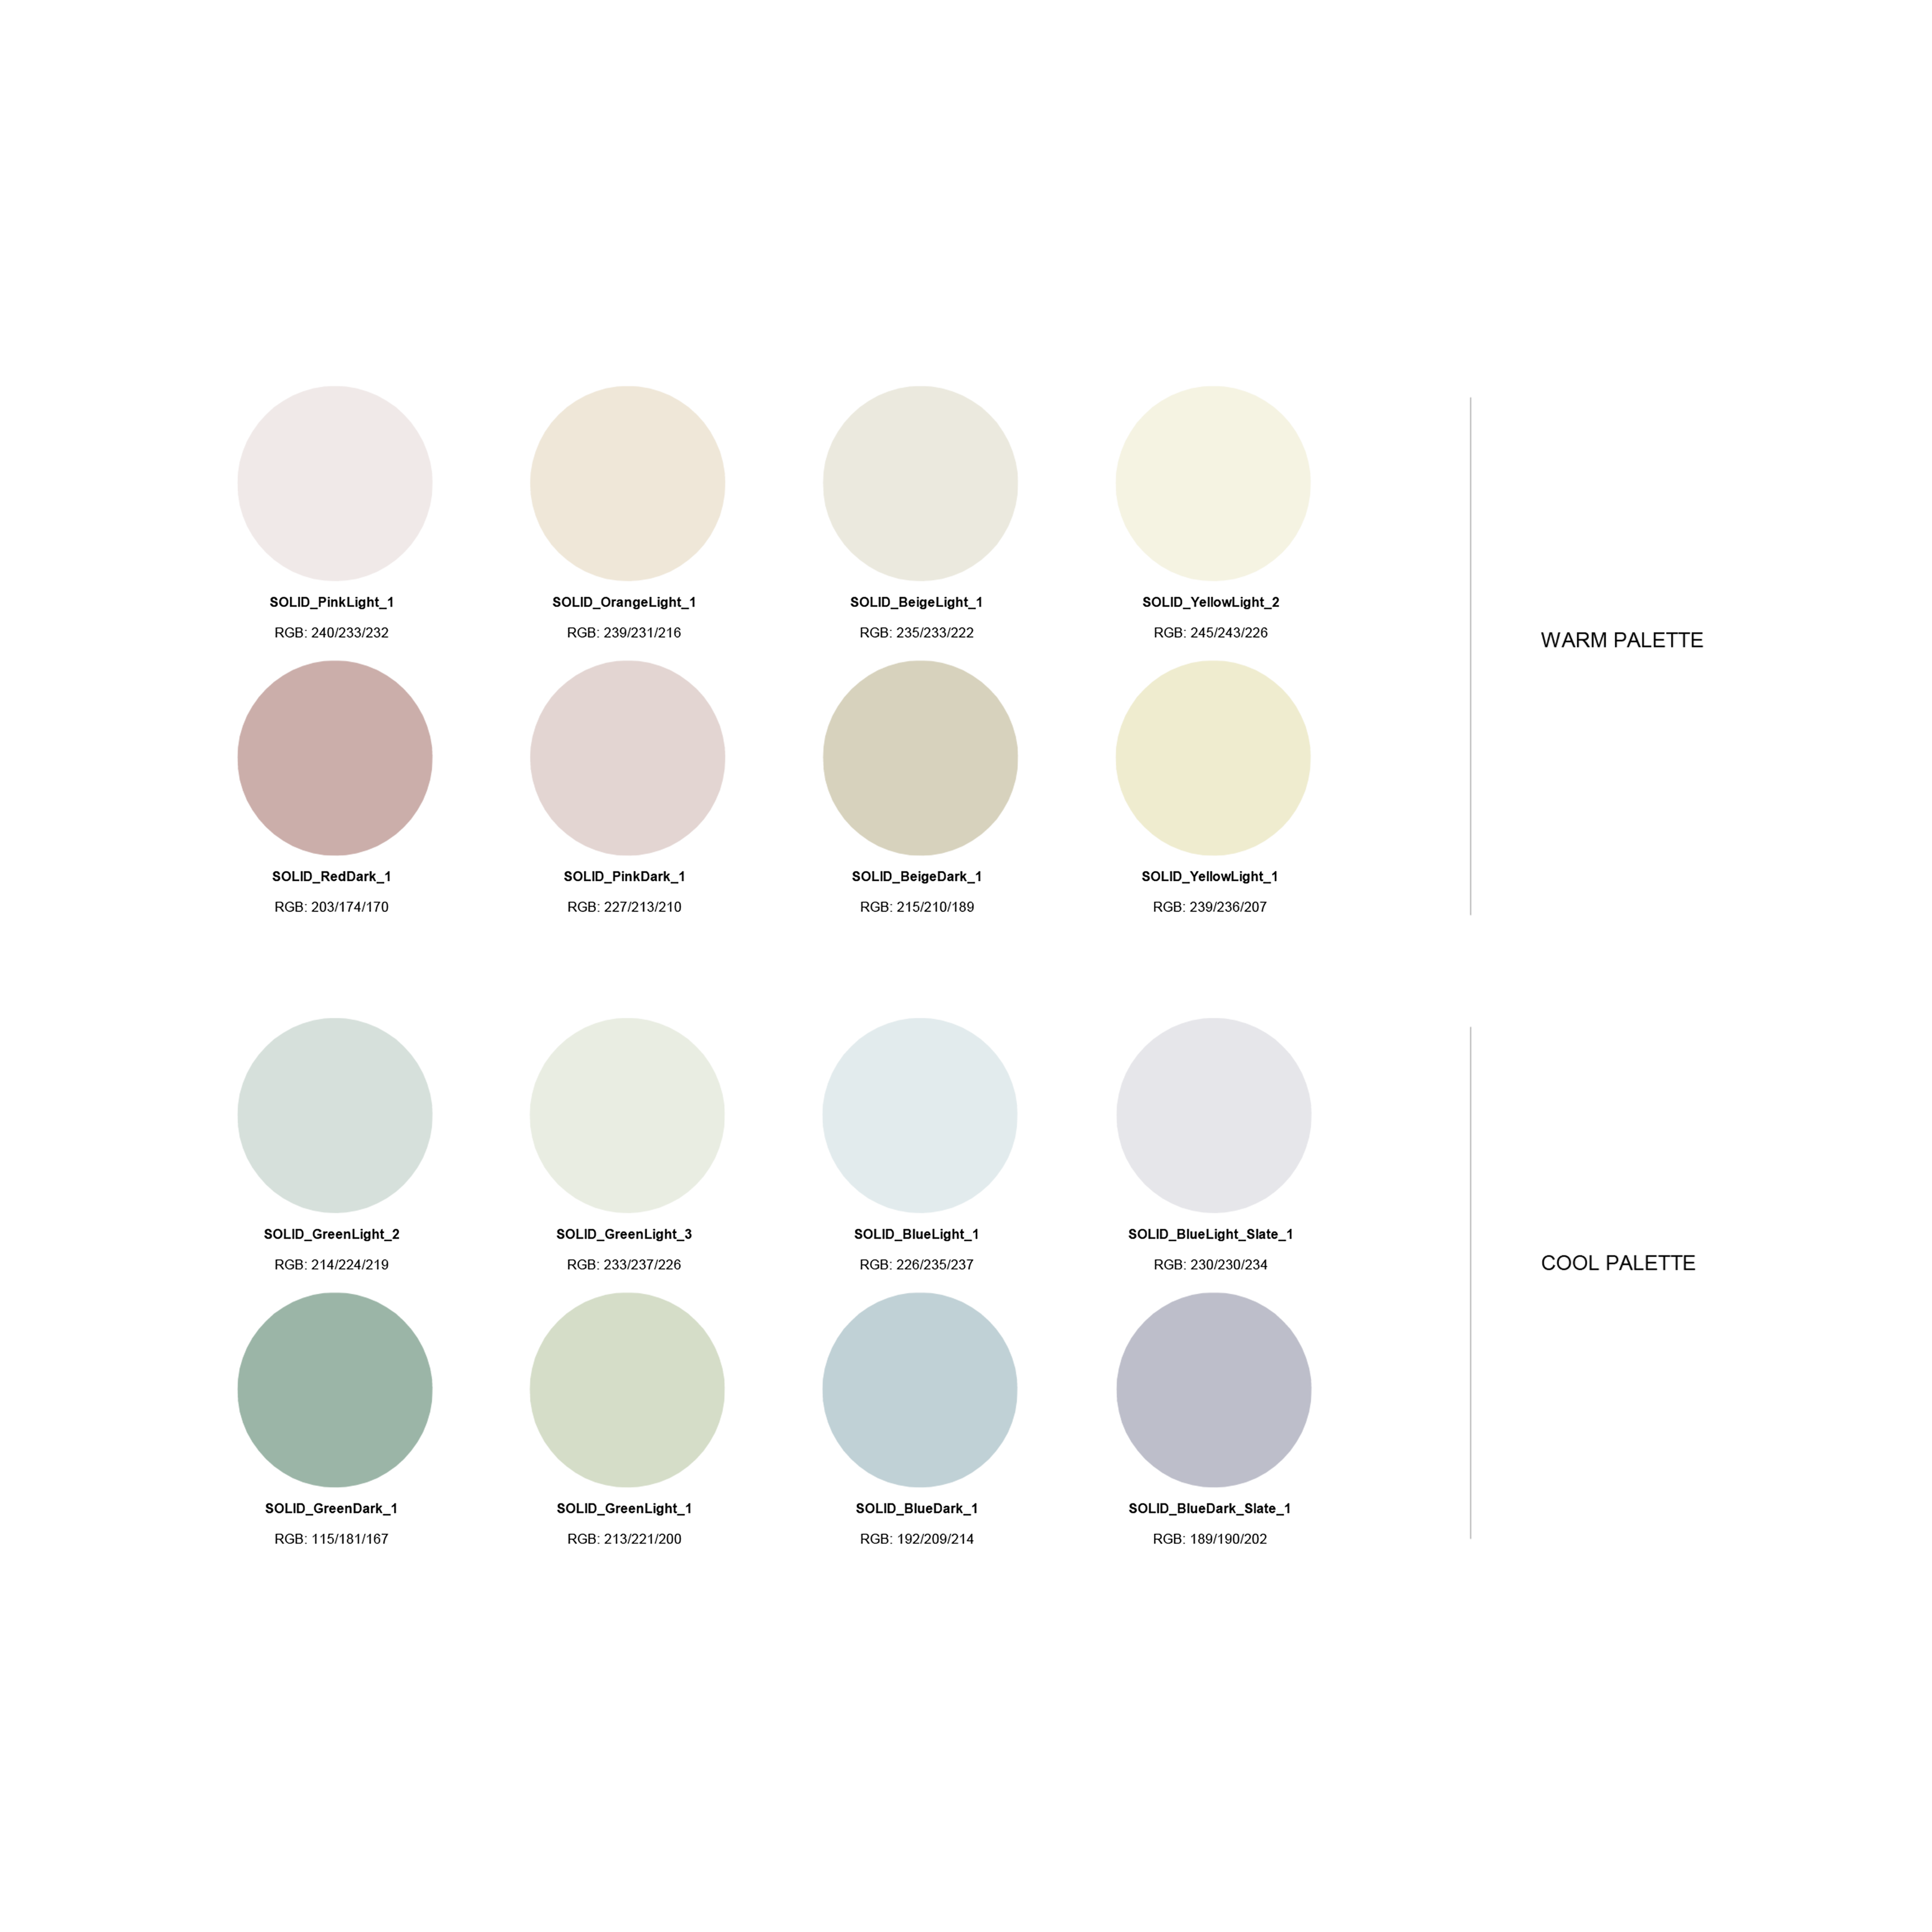
image: Project by n. free Revit template guide
A standard set of materials should be included in your Revit template to ensure consistency across projects. Limit the number of materials to 10-15 to keep your file size manageable. Too many materials can bloat the template and slow down Revit.
Your Revit template should also include a variety of annotation families, such as:
Organise these families with clear naming conventions so that they are easy to find as your projects grow. Avoid overloading the template with rarely used 2D detail items to keep it lightweight.
View templates are essential for controlling the graphic output of your Revit project. Your Revit template should include a series of pre-configured view templates for different drawing types:
While view templates may need adjustments for specific projects, including these templates in your template helps ensure consistent graphic standards across your projects.
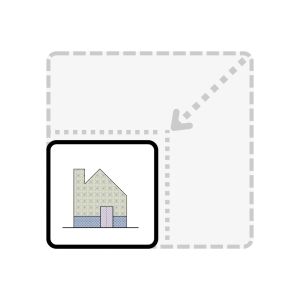
Managing Revit file sizes is a constant challenge. Your Revit template should be kept as lean as possible to avoid performance issues. Remove any unnecessary families, materials, and system families. Only include generic wall, floor, ceiling, and roof types, and keep additional content in a separate file.
Consider maintaining a content library file separate from your template. This file can house larger families, materials, and system families that are not used in every project. This helps keep your template file lean while providing easy access to additional content when needed.
Once you’ve set up your Revit template, it’s important to test it thoroughly. Print hard copies of your drawings and create PDFs to verify that everything is working as expected. Tweak your settings as needed to ensure that the output matches your graphic standards.
We hope this was a useful guide to help you create a Revit template tailored to your needs. If you have any questions or would like further assistance, feel free to email us at hello@projectbyn.com
For more detailed instruction on Revit template creation, check out our Free Template Guide. It offers a comprehensive look at the key elements and settings to include in your template, as well as tips for adapting it to your specific design practice standards.
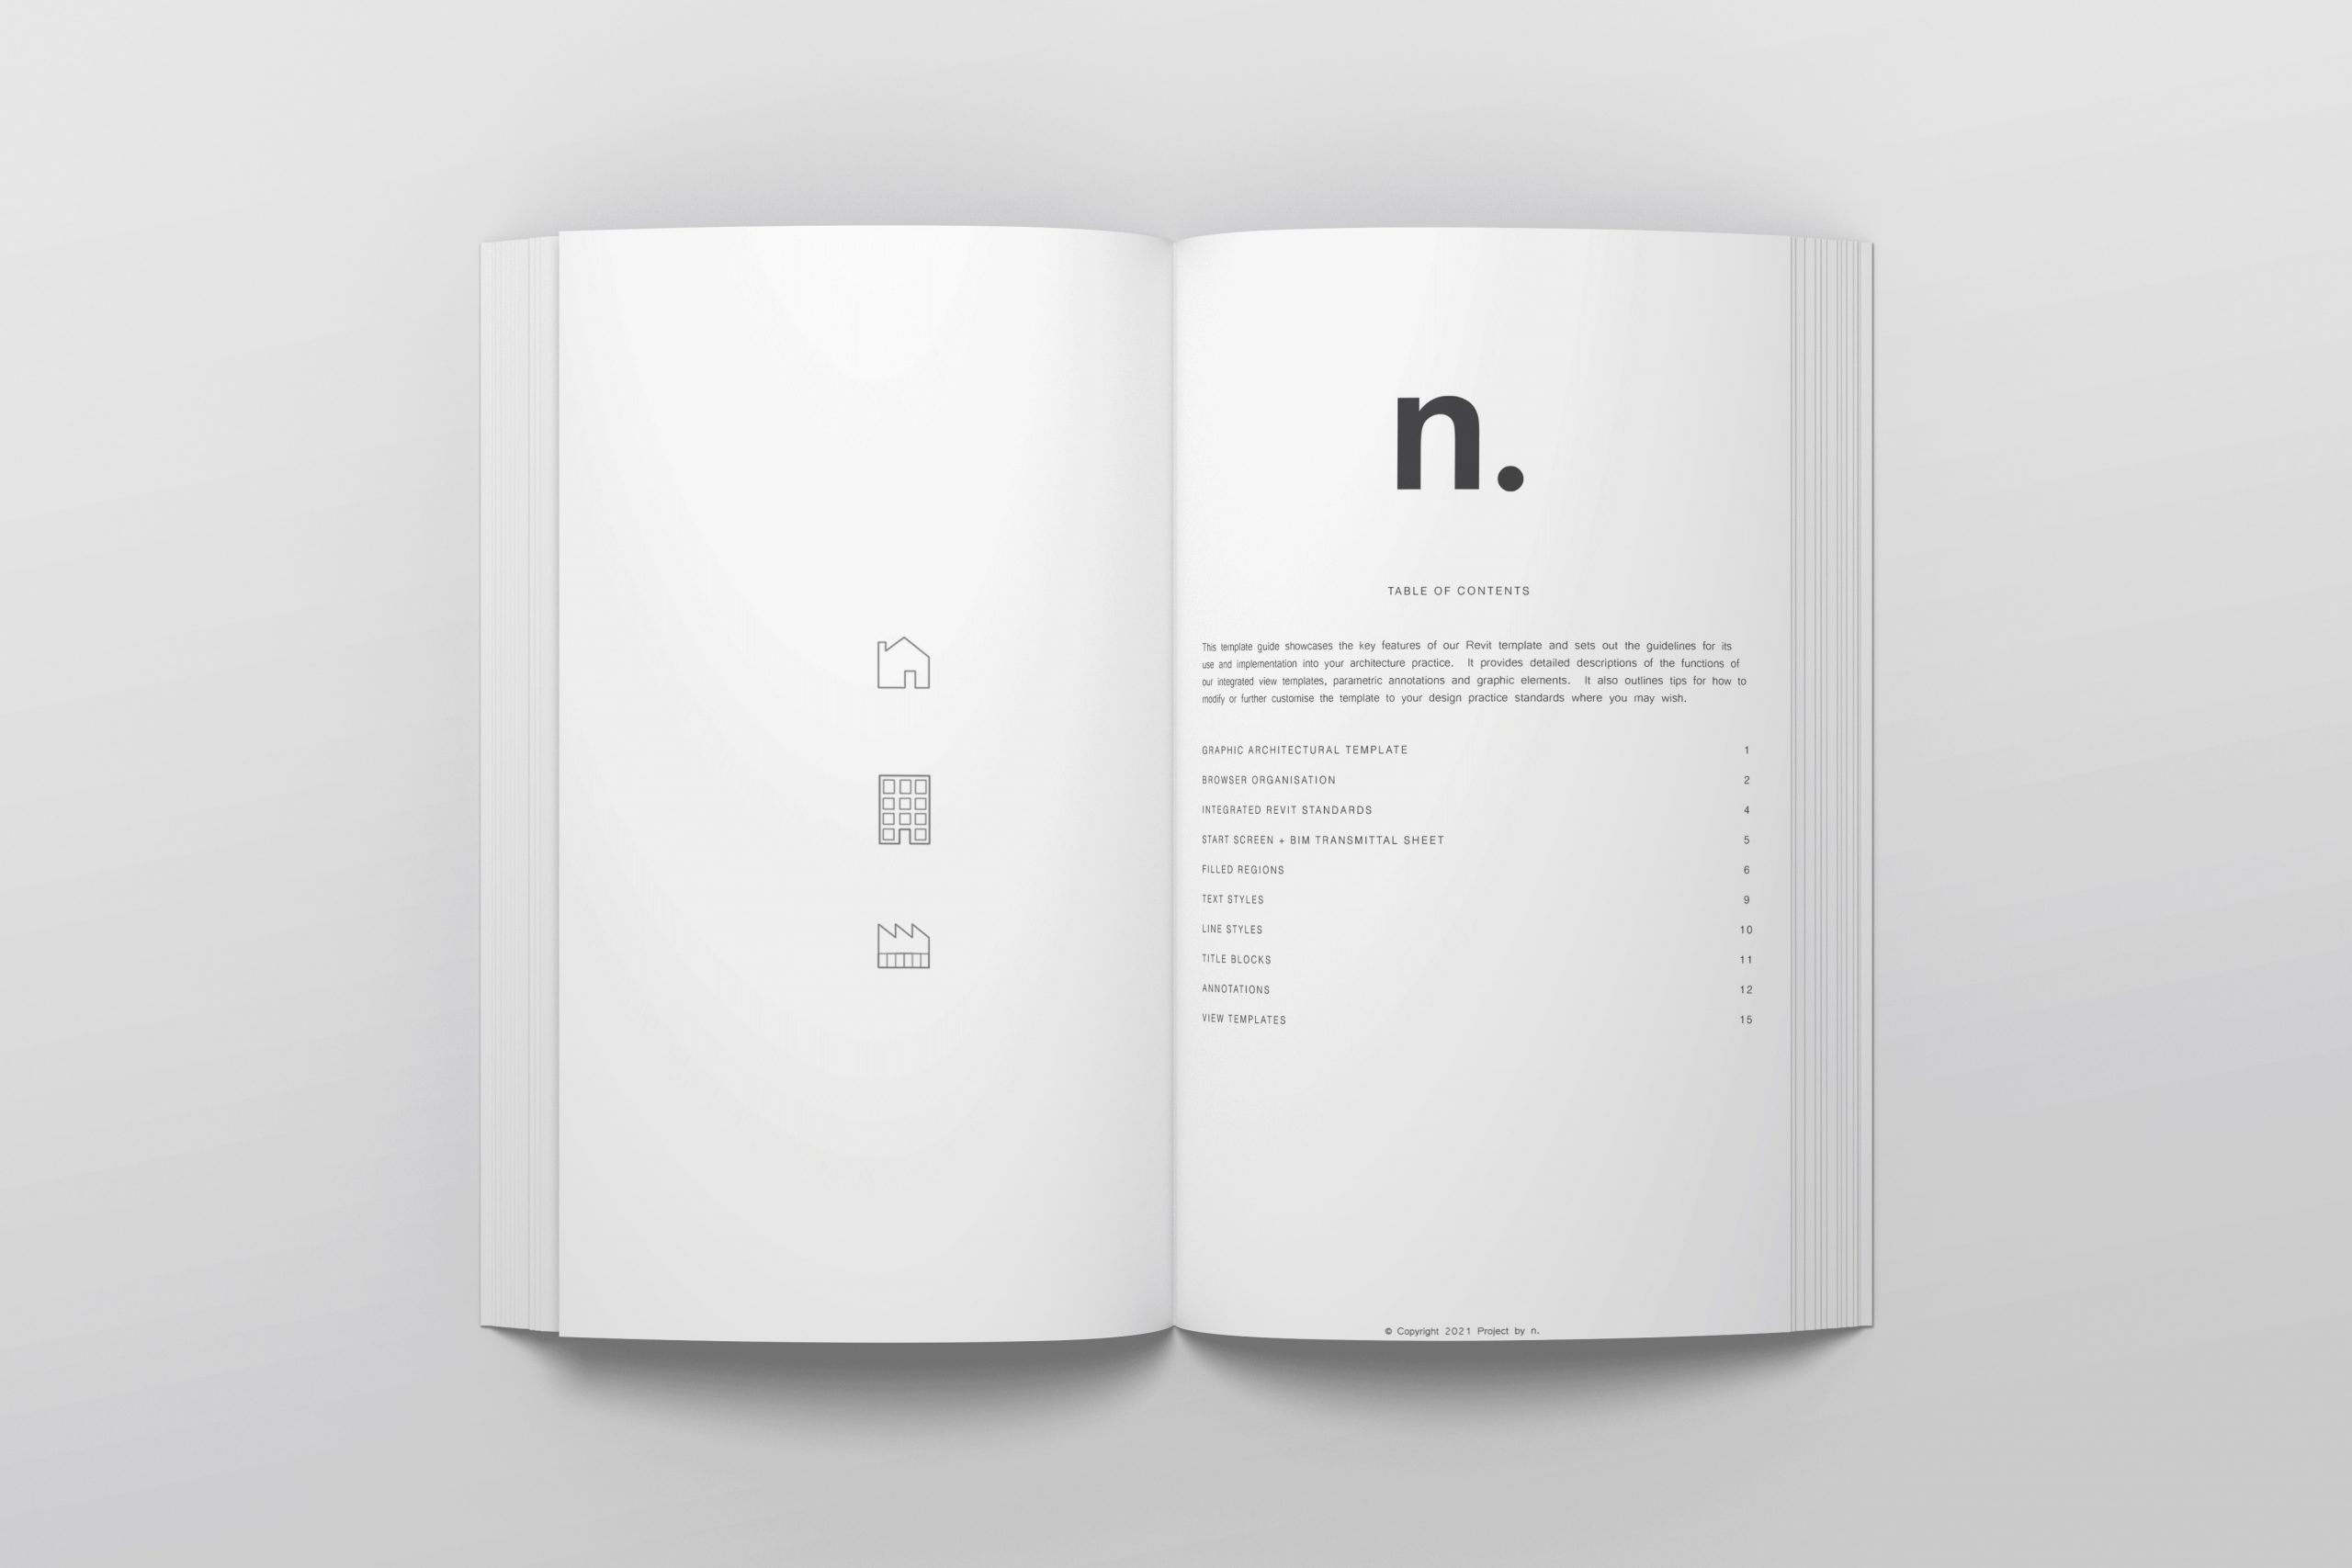
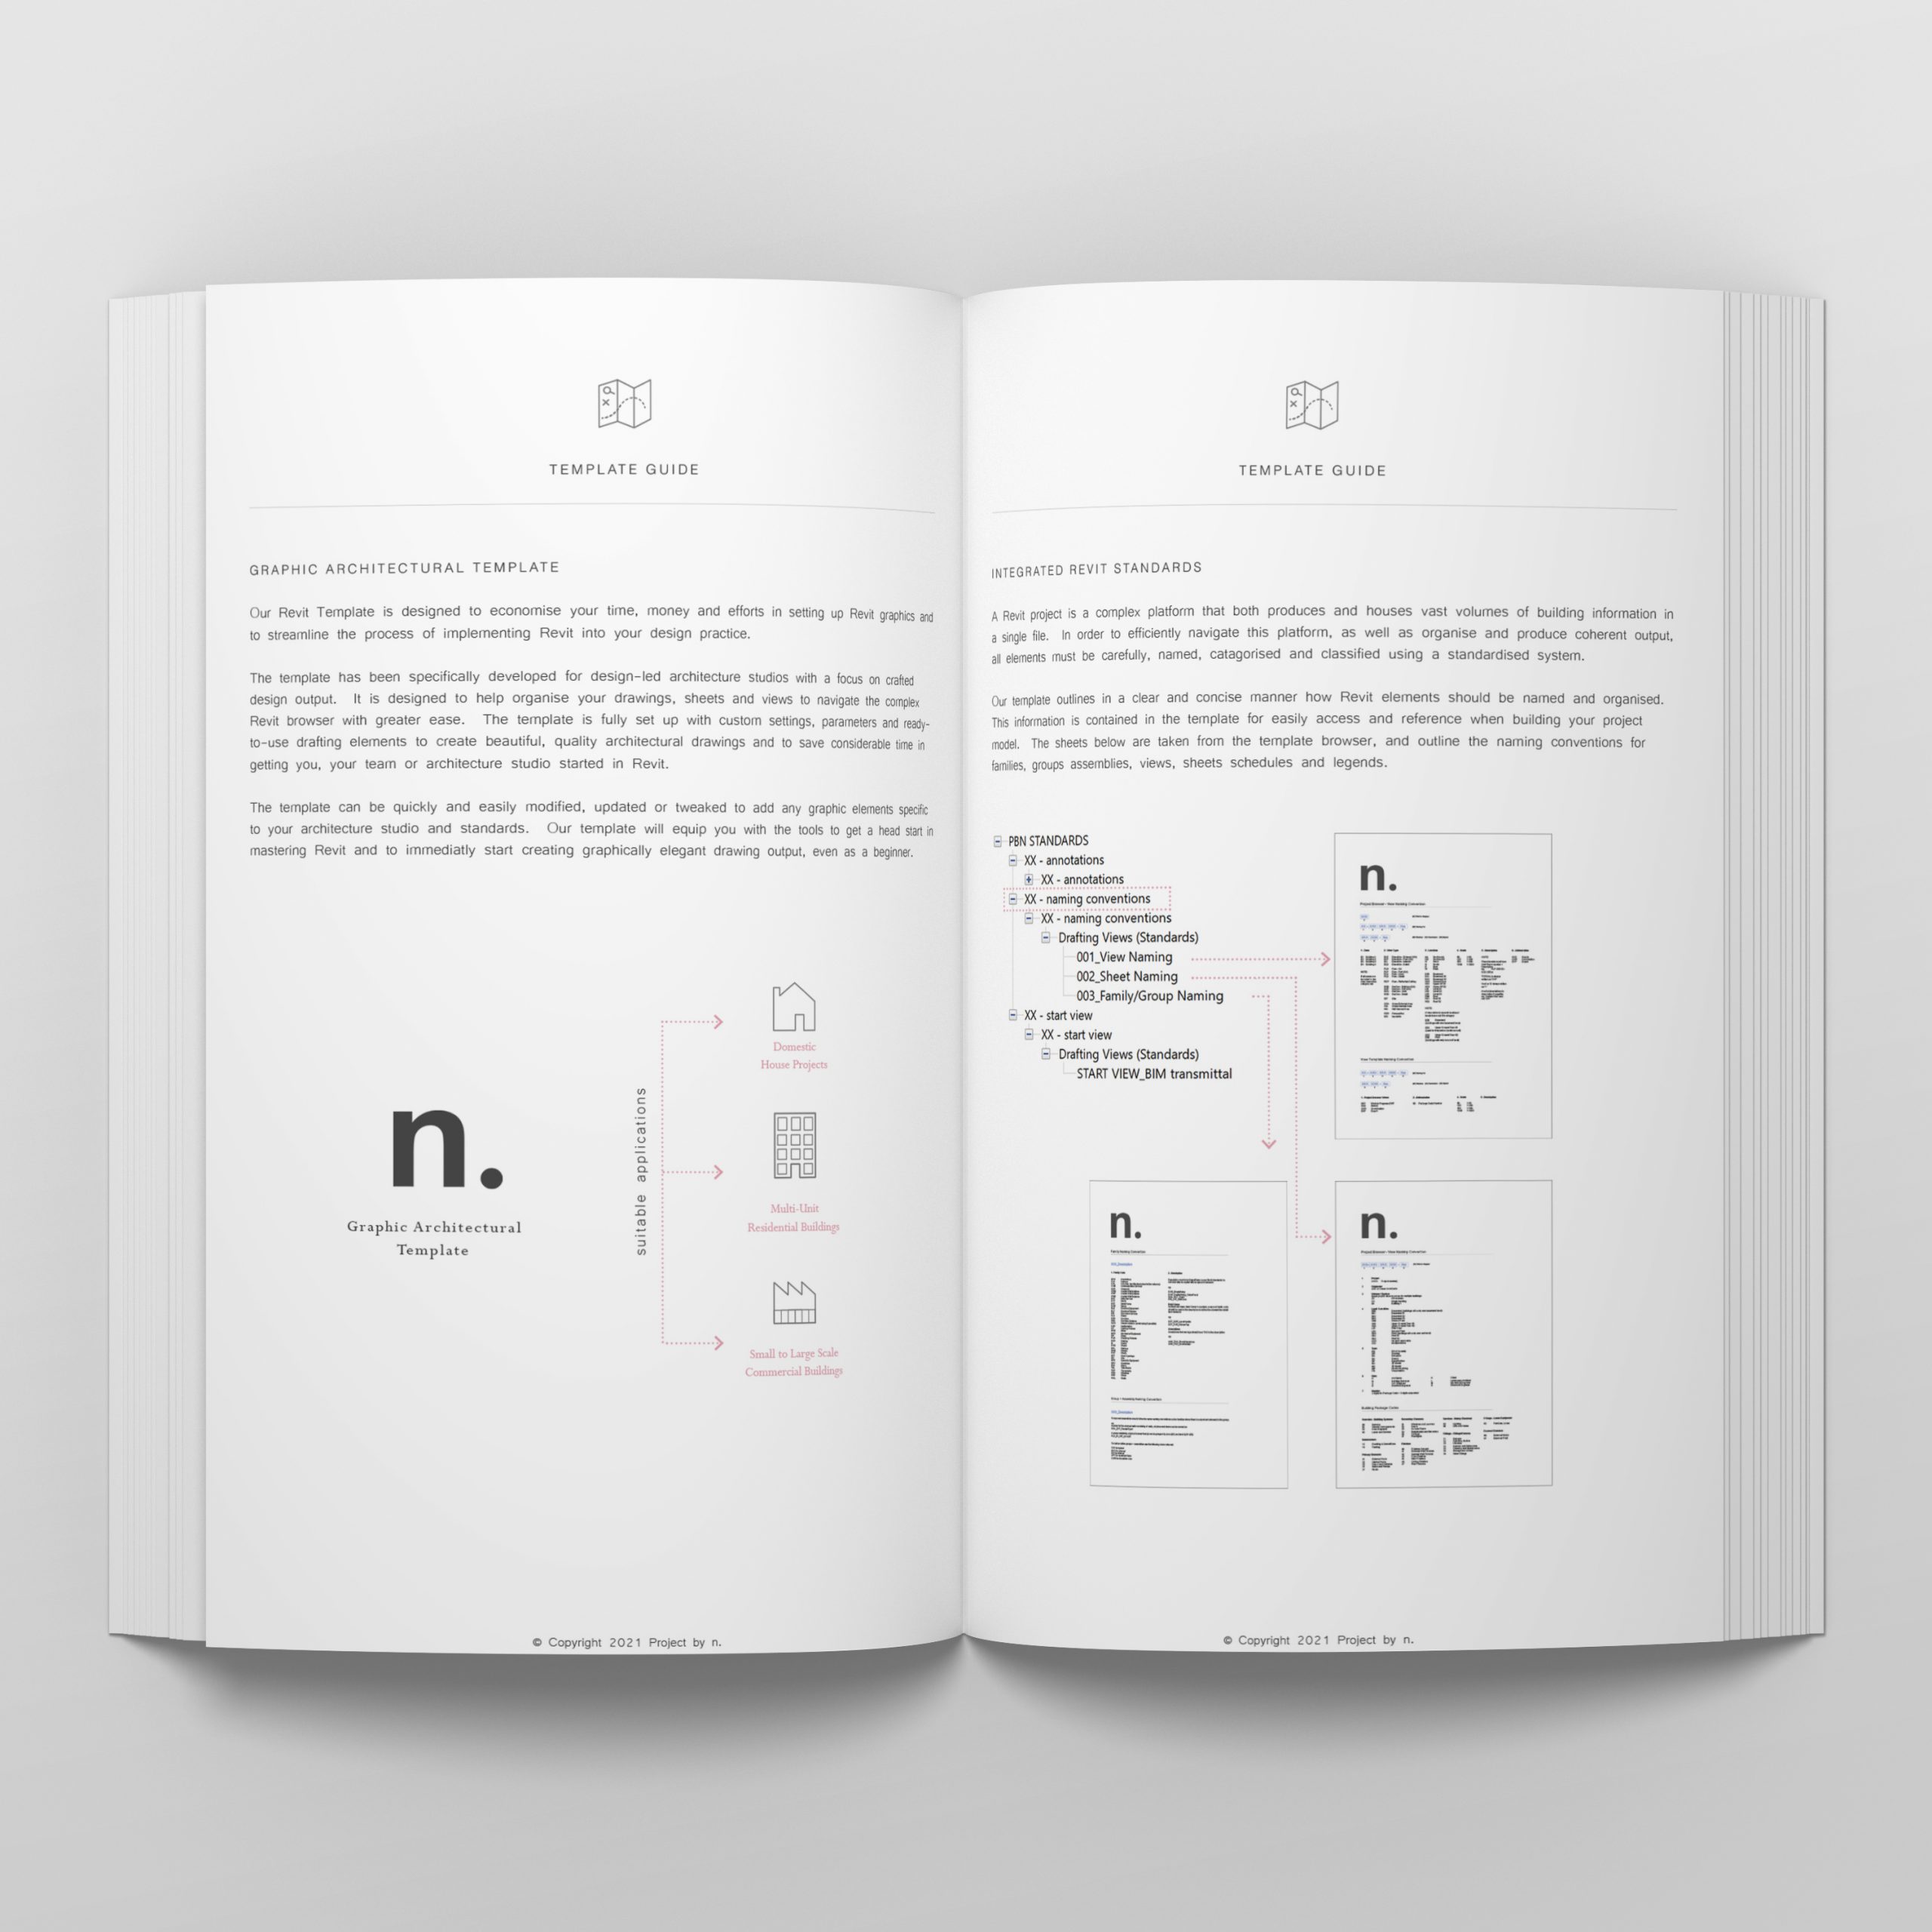
image: Project by n. free Revit template guide
You may download our free template guide from our home page.
To save yourself the time and effort of creating a Revit template from scratch, we have done all the work for you! Through rigorous testing and development we have built a full Revit Graphic Template for purchase. Visit our home page or our LinkedIn page for further information.