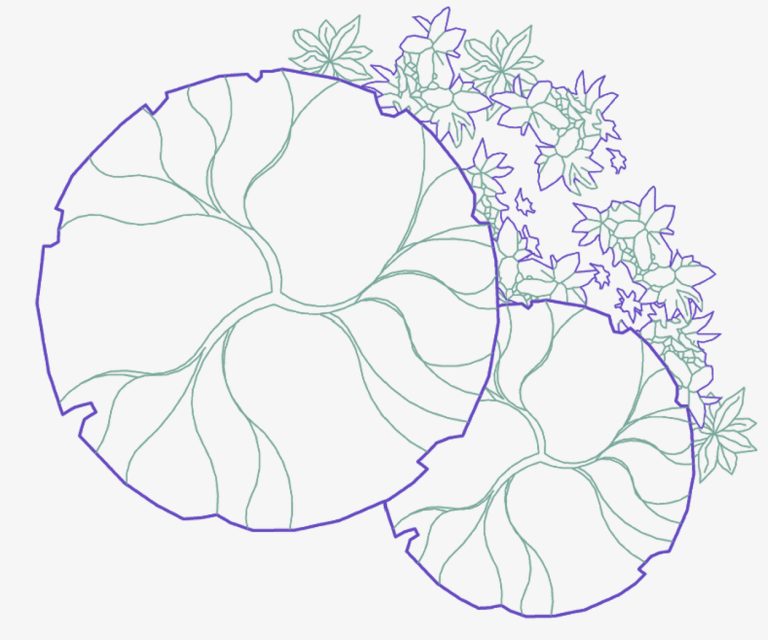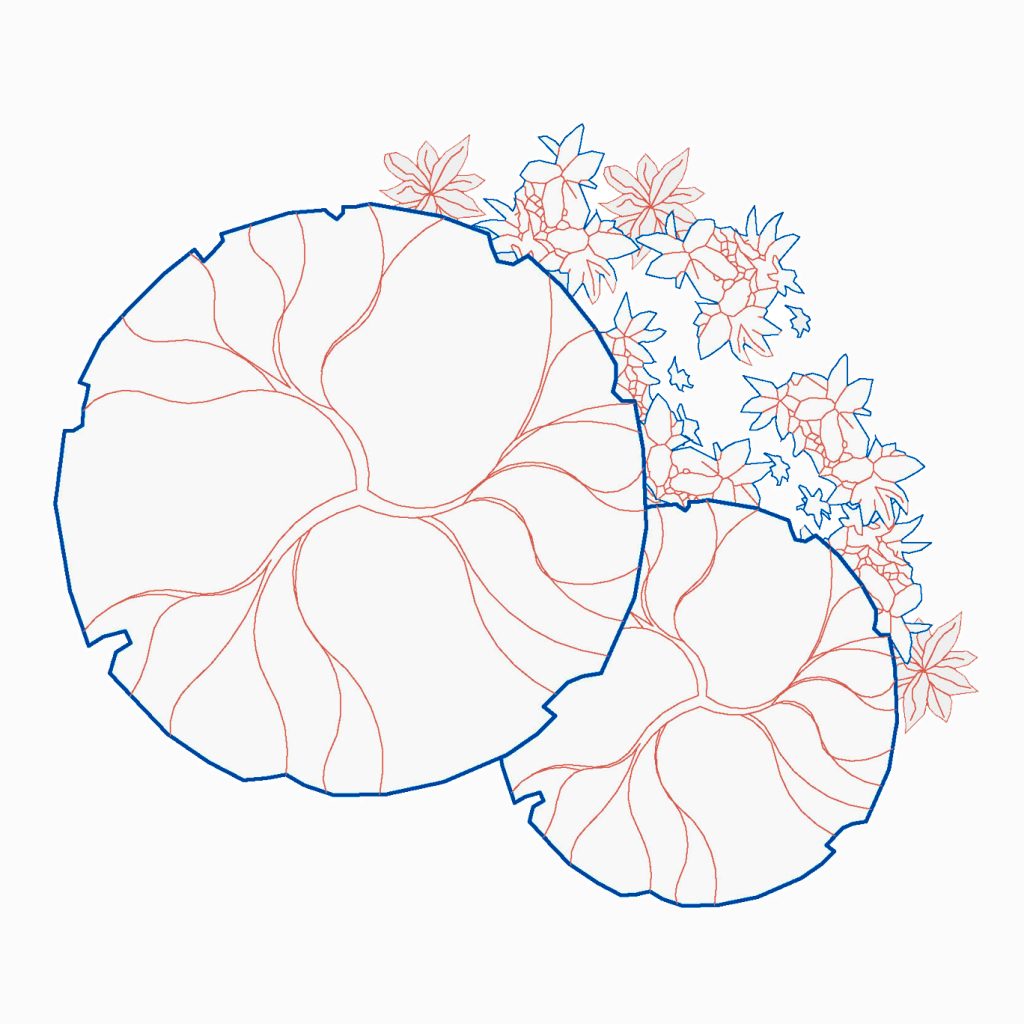
Detail items in Revit are essential for producing clear, legible, and professional drawings. By customising them, you can control how details appear in different views, improve visual clarity, and ensure your drawings reflect your design intent. The process is simple, and once set up, it gives you much greater flexibility in managing Revit families and their graphic output.
Here’s a step-by-step guide:
Start by opening the family you want to adjust in the Family Editor. Customising detail items at the family level gives you full control over line weights, line styles, and visibility.
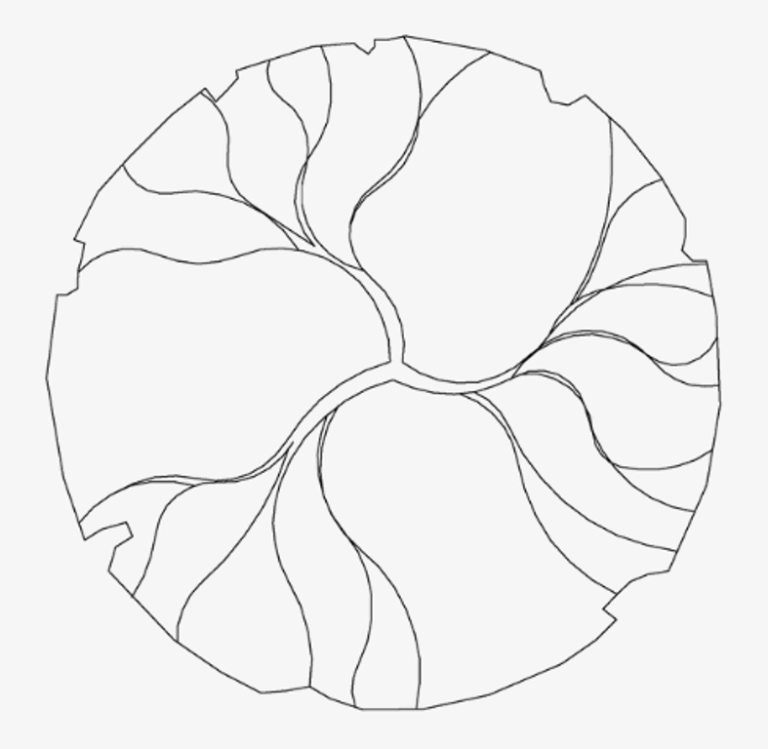
In the Manage tab > Object Styles, you can create new subcategories for your family. Add a new subcategory (for example, Heavy Lines) and assign line weights, colours, or patterns. This step lets you organise detail items into logical groups that are easy to manage later.
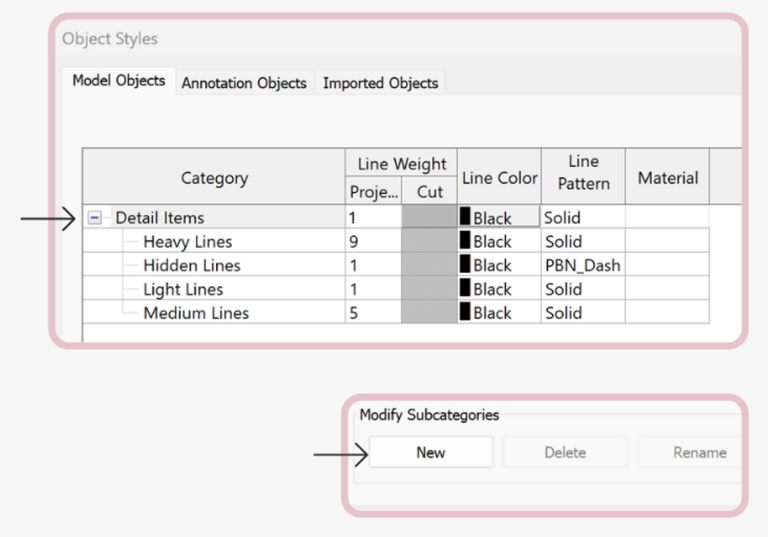
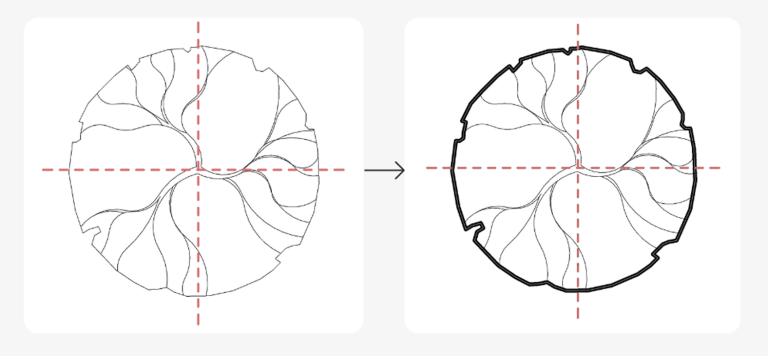
Select elements in the family and assign them to your new subcategories in the Properties palette. This way, you can independently control visibility and appearance for each type of element within the family.
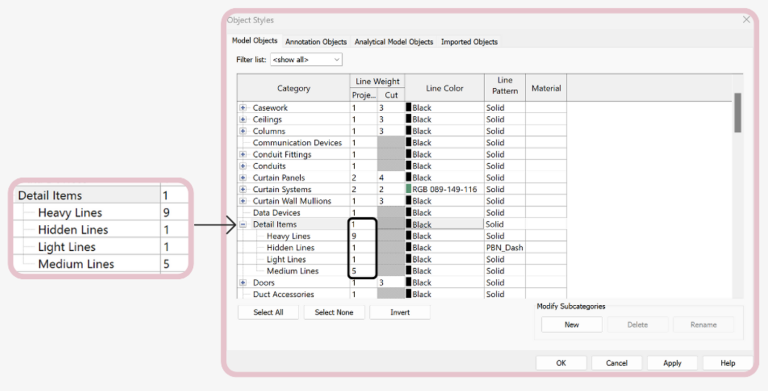
Load the detail item family back into your project. In the project, under Manage tab > Object Styles, adjust the projection line weights for your subcategories. These numbers correspond to your global line weight settings, ensuring consistency across drawings.
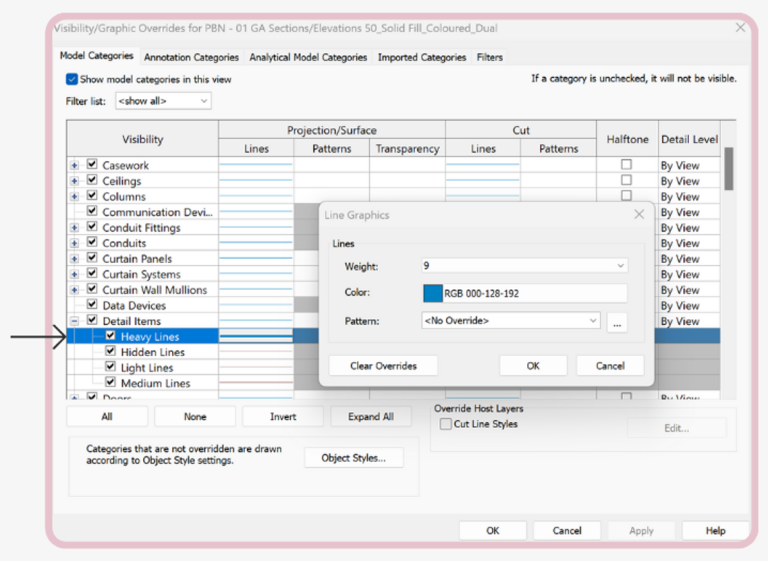
For even more control, go to View tab > View Templates > Manage View Templates. Select the relevant template and adjust the graphics for your new subcategories — line weight, colour, or style. This is where you can start tailoring your drawings to match your project standards.
Once customised, apply your chosen template to the current view. This ensures your detail items appear exactly as you’ve set them.
With subcategories in place, you can experiment with different line styles and colours to add depth and clarity to your drawings. Whether it’s distinguishing between elements or making diagrams more readable, the flexibility is now in your hands.
By setting up subcategories and adjusting graphics in Revit families, you gain better control, consistency, and efficiency in your documentation. Instead of relying on default settings, you can adapt detail items to suit your own office standards or project-specific needs.
Customising Revit detail items doesn’t take long, but it pays off in producing drawings that are clearer, smarter, and more professional.
PRO Tip: Once you’ve set up a system you like, save it as part of your Revit template. This way, every project benefits from the same level of control and consistency.
For more useful Revit tips and tricks, see our blog posts below or follow us on social media: instagram and linkedin.
We provide a full suite of custom Revit Filled Regions with our PRO and LITE Revit Templates. Find out more by downloading our FREE Revit Template Guide from our Home Page.
