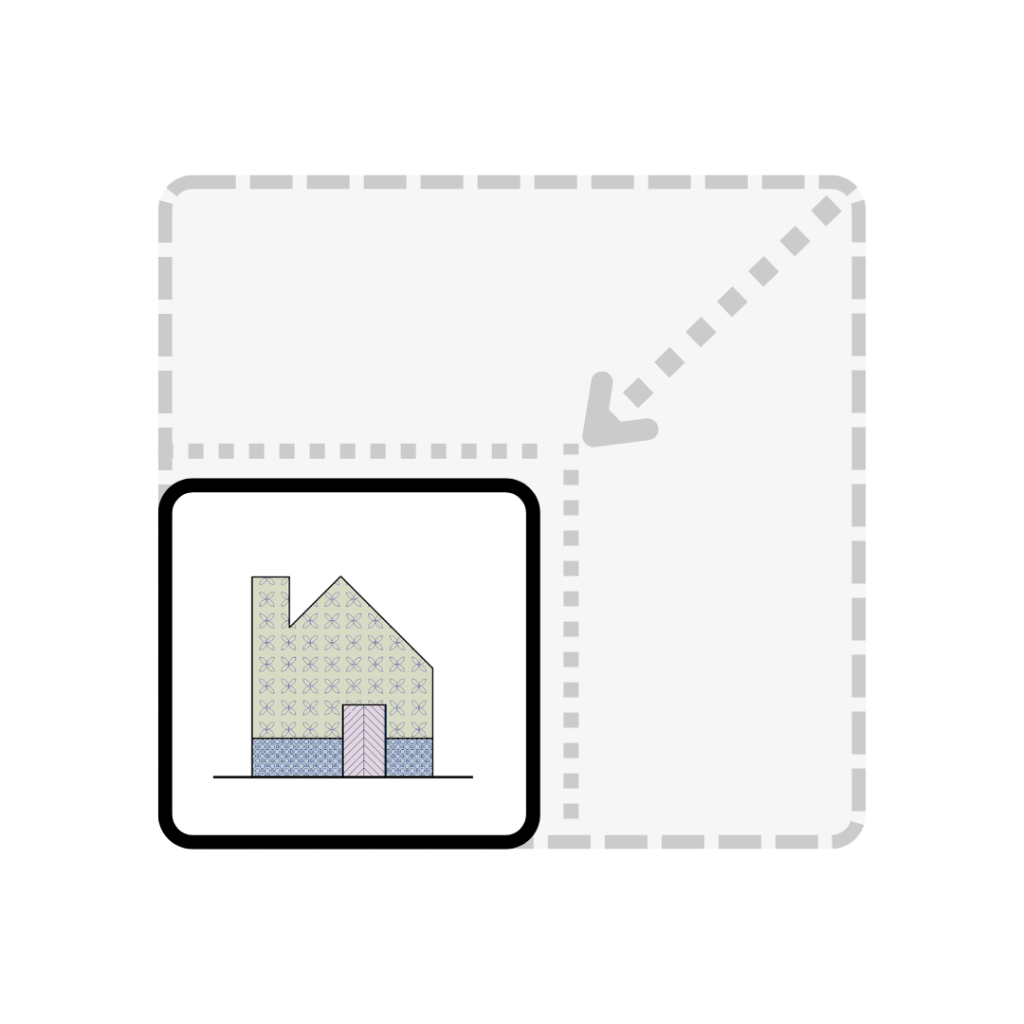
Large Revit files can slow everything down. Opening, saving, syncing, printing, and even moving between views can become noticeably slower as your project grows. Without active management, file sizes can increase rapidly, affecting performance, collaboration, and overall efficiency.
Keeping an eye on your Revit file size is about more than speed. It’s also about maintaining the health of your model. When a file becomes too large, it can cause instability, risk data corruption, and make coordination between team members or consultants unnecessarily difficult.
The good news is that you can prevent this. With a few simple habits and regular maintenance, you can keep your model running smoothly and avoid the frustration of oversized files.
Below are practical steps that every Revit user can take to reduce file size and improve overall model performance.
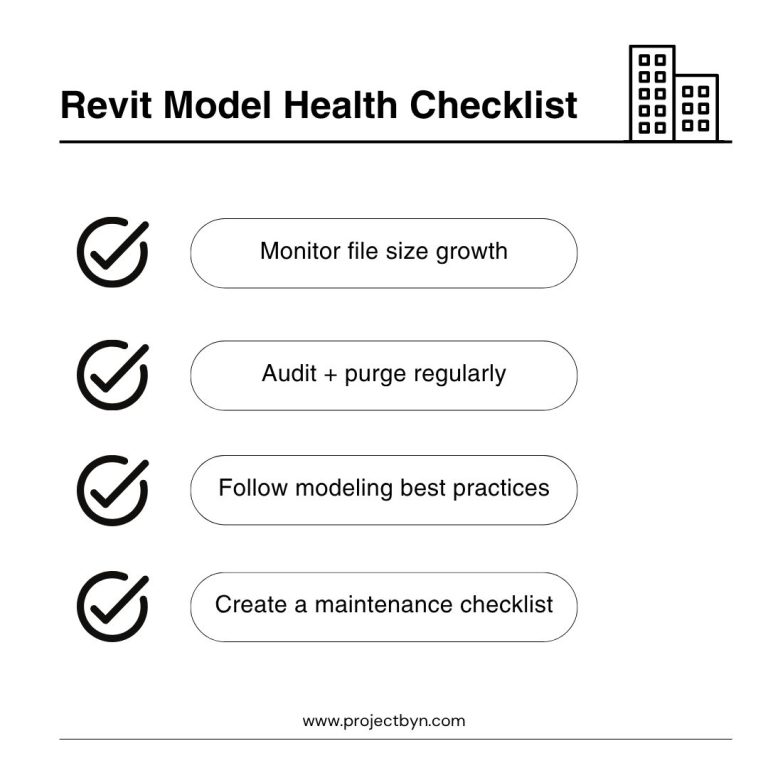
Here’s a BIM Standards Checklist to get you started:
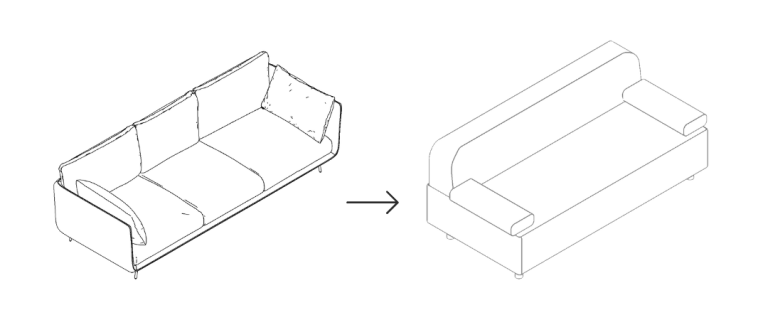
Keep geometry as light as possible. Overly detailed families, imported objects, or unnecessarily high levels of detail can add thousands of kilobytes to your project, and most of the time, those details aren’t even visible in drawings.
PRO Tip: Families are often the main cause of large file sizes. Keep them under 1MB where possible.
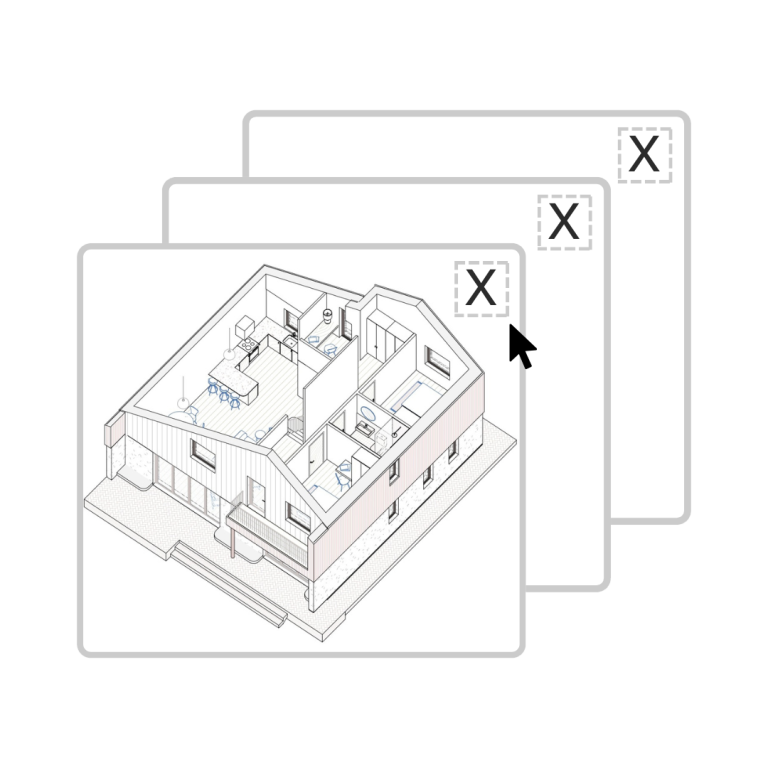
Every view and sheet adds to your file size. Large projects can accumulate hundreds of unused or temporary views that you no longer need.
PRO tip: Use View Templates to control graphics without duplicating views.
Imported DWGs and image files can significantly bloat your Revit model. Always link rather than import, as this keeps file references external and reduces embedded data.
PRO Tip: Save your DWG links in a clearly named “Links” folder within your project directory to make maintenance easier.
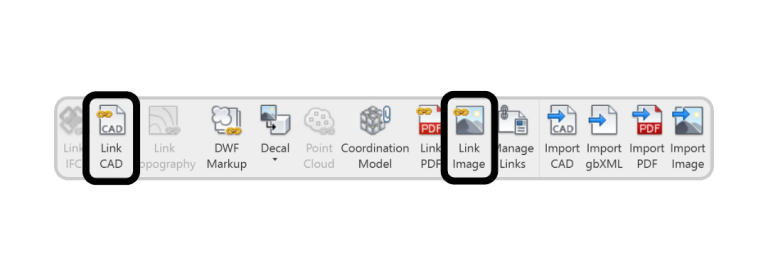
Revit projects can accumulate unused families, materials, and line styles over time, especially when templates evolve or team members load content for testing.
Use Purge Unused regularly to clean up the model.
PRO Tip: Purge selectively – don’t remove things you know you’ll need later.
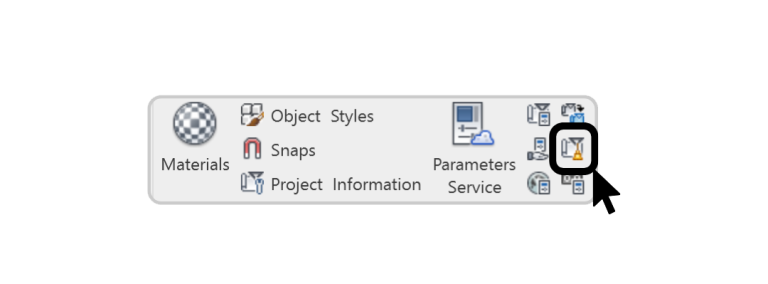
Auditing checks for errors or corrupt elements that may be bloating your model. It’s a good habit to audit every few weeks, especially for central models shared by multiple users.
Warning: Make sure no one else is working on the model while auditing a central file.
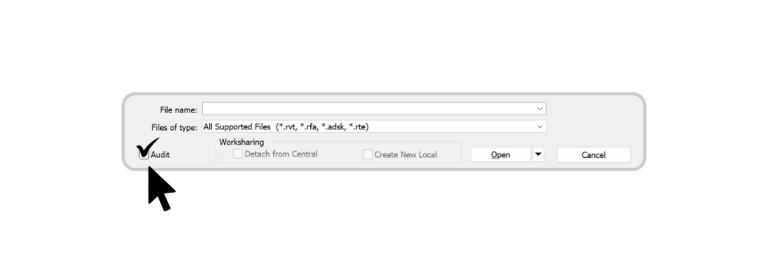
Compacting rewrites the database of your Revit file, removing outdated data and optimising storage.
Result: You’ll often see file sizes drop dramatically and performance improve immediately.
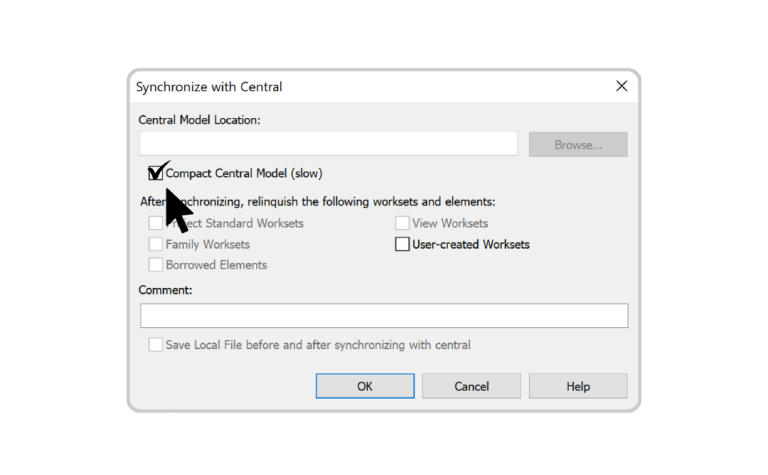
Reducing file size isn’t a one-time task. It’s an ongoing process.
When managed proactively, Revit models stay lean, stable, and far more enjoyable to work with.
For more useful Revit tips and tricks, see our blog posts below or follow us on social media: instagram and linkedin.
We provide a full suite of custom Revit Filled Regions with our PRO and LITE Revit Templates. Find out more by downloading our FREE Revit Template Guide from our Home Page.
