A good way to begin building your Revit Template is to start with a Revit template checklist. In this way you can work one by one through each of the essential elements as you develop your template and can ensure the fundamental settings, tools and elements are all considered and included. It is also important at the outset to carefully consider the type of projects you will use your template for, as well as the existing workflows in your practice or team for producing drawing and presentation output. In this way, the necessary standards, information and organisation will best suit your practice and particular projects.
We have compiled a complete Revit template checklist to help you in creating your own Revit template from scratch. Our checklist includes the key elements and settings to consider when developing a Revit template. We have built our own Project by n. templates using this checklist as the foundation for their creation. We encourage you to go through the checklist item by item and consider how the key elements and settings that will best suit your practice and project needs. Our free Revit Template Checklist and guide notes is also available for download at the bottom of this page.
Browser Organisation
The template browser must be carefully constructed to optimize the efficiency of your workflow while adhering to industry standards for working in Revit. It should be designed to be simple and organised to help you easily navigate through sheets and views as your project evolves from concept through to construction stages of a project.
Project Standards
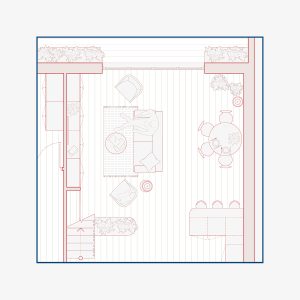
As architects, we understand the importance of having a clean and considered suite of line weights, filled regions, patterns, text and line styles and know that these are key to achieving beautiful and clear architectural drawings. Each of these must be developed and tested to ensure they suit drawings of varying types and scales. These elements should be available in a selection of sizes, colours and transparencies to suit a wide range of applications, from general arrangement drawings to assembly and detail drawings. All graphic elements should follow a standard naming convention such that they are neatly organised and identifiable in the template.
Graphic Standards
Once the above is all set up, the graphic standards can be added to the template. The first place to start is your lines and filled regions. Revit has a standard set of integrated line styles that cannot be deleted, but you can also add your own. Remember to keep these to a minimum so that there is no repetition or confusion, and follow a strict naming convention so that they can be easily found and their properties easily identified.
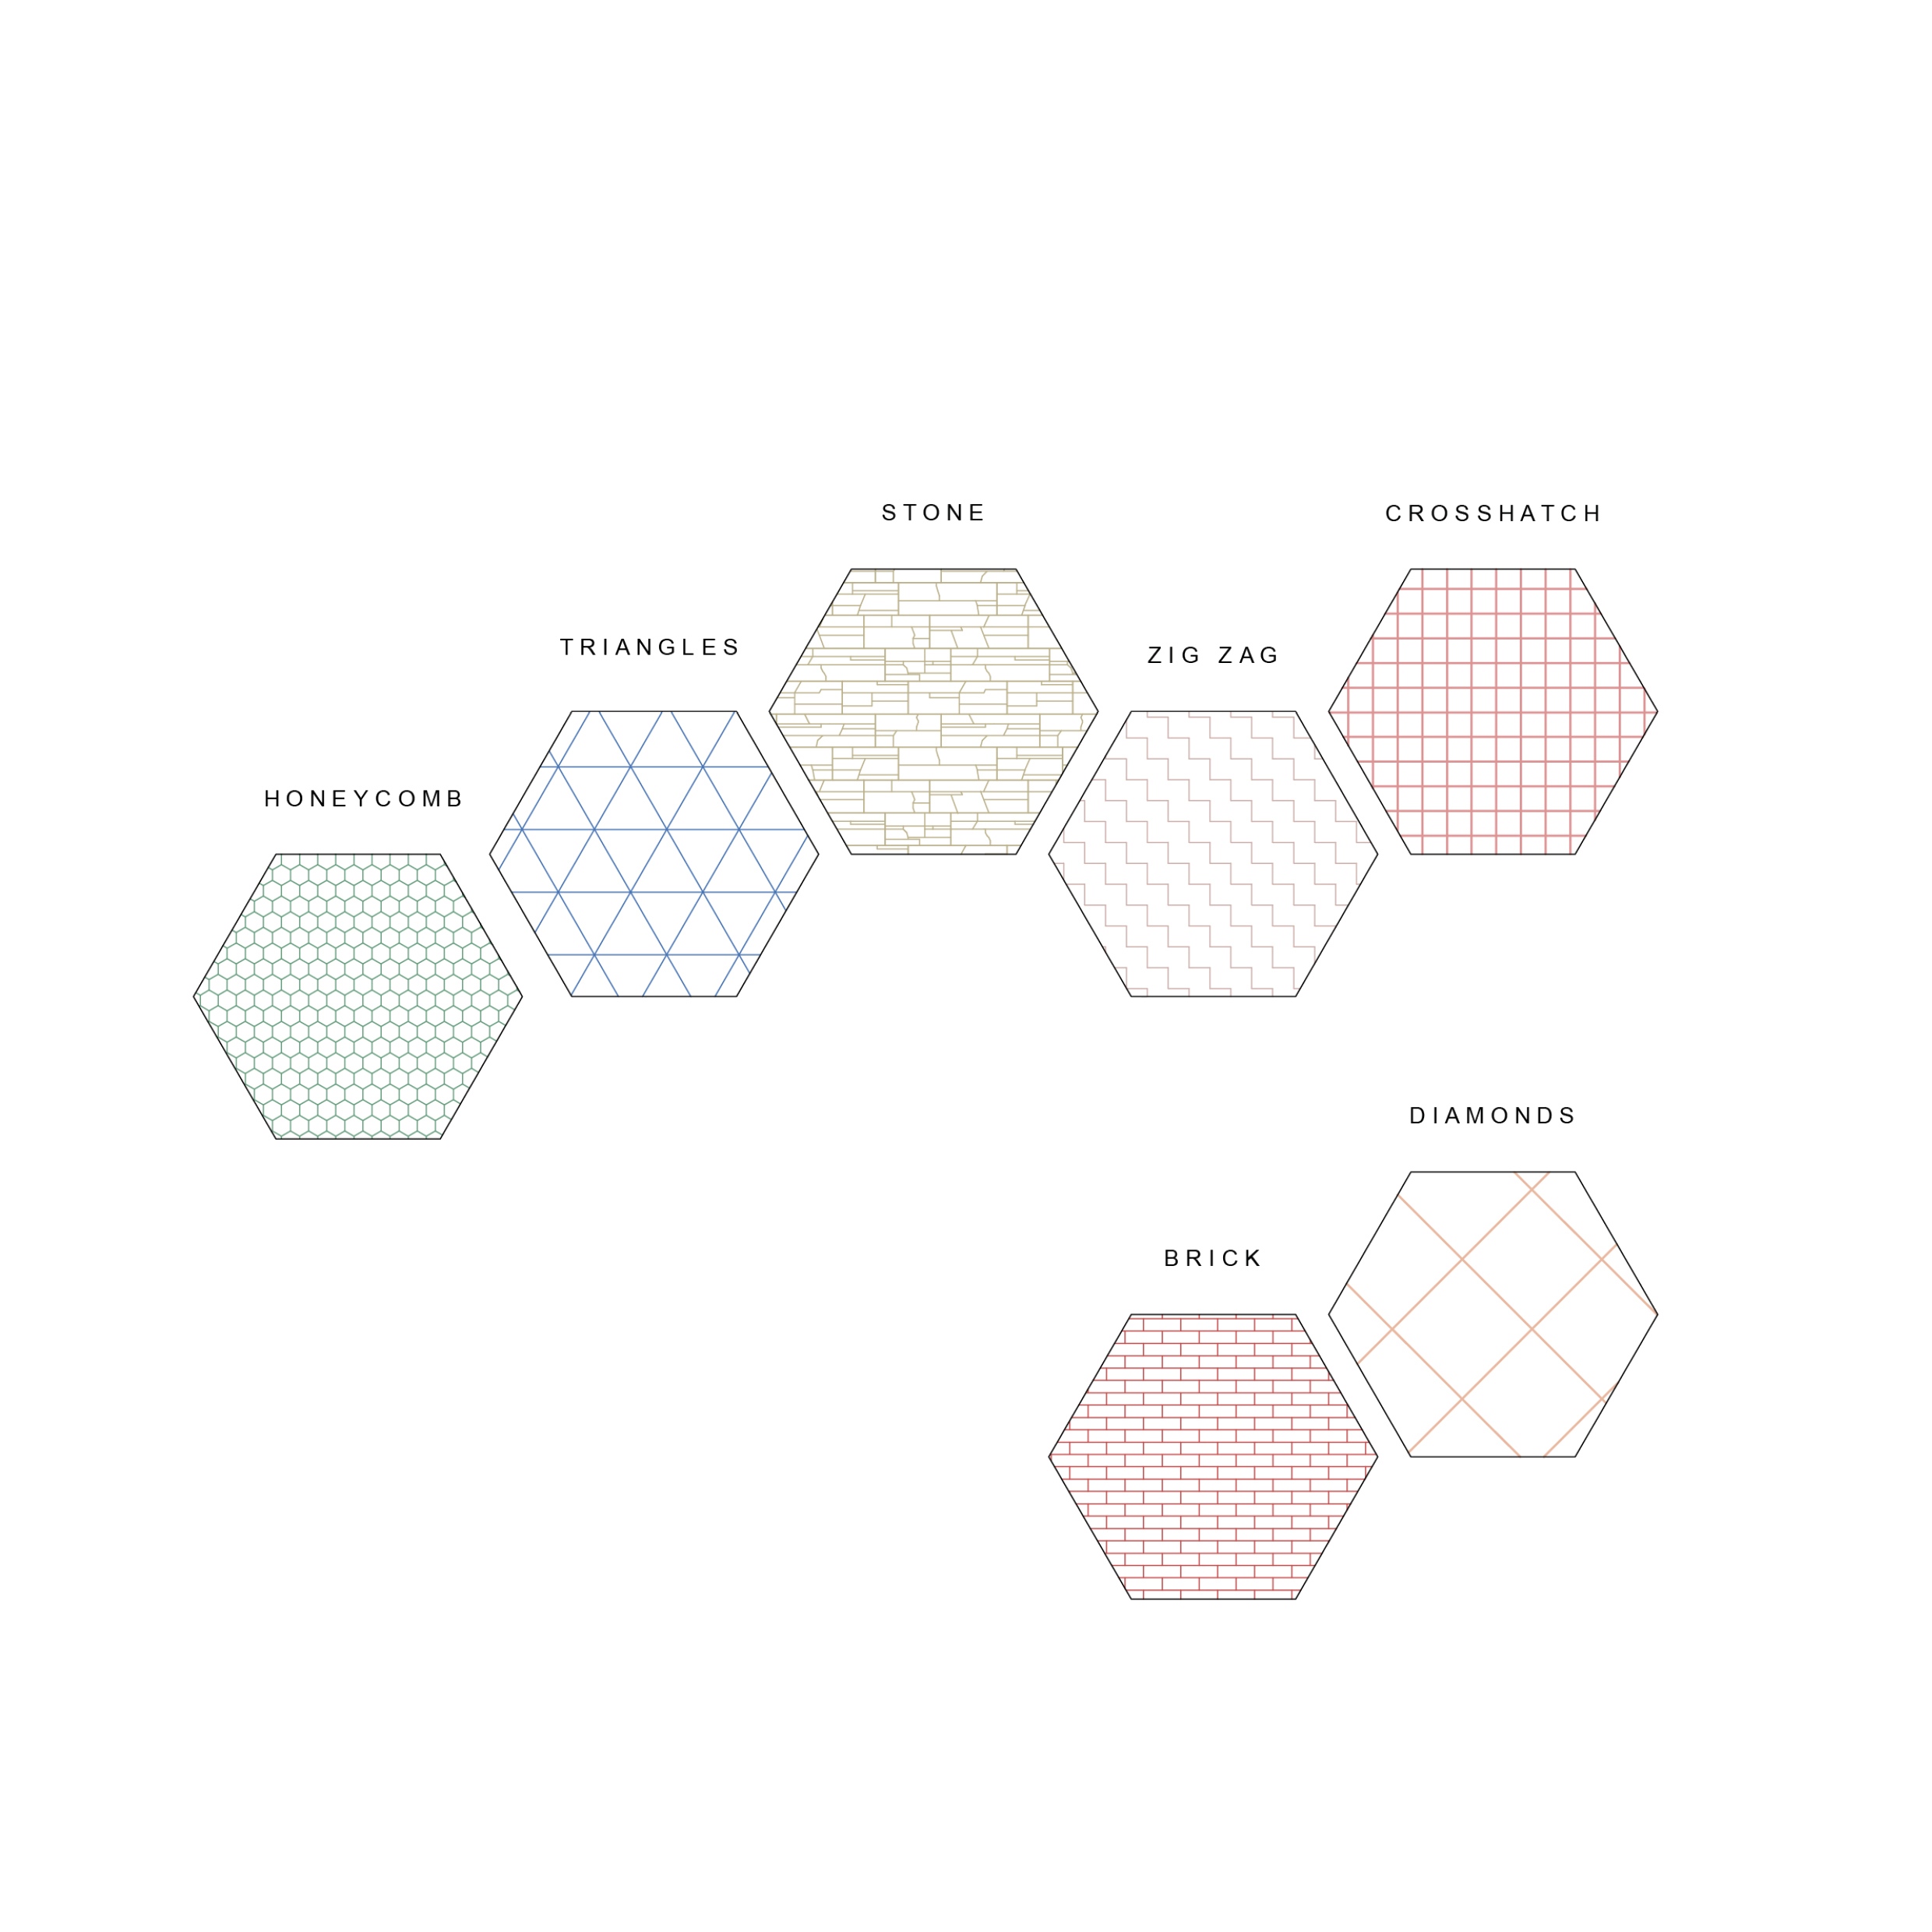
Filled regions can be flat colours (opaque or transparent) or hatched. It is a good idea of have a large selection of patterns and a carefully selected colour palette available in your template to enrich your drawings and presentations.
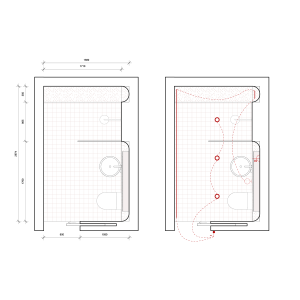
By investing in developing your template’s graphic standards you will save considerable time and effort for each individual project you produce in Revit. A key part of developing the graphic style for your drawing output, is to create a set custom view templates that work seamlessly with the template to quickly and automatically change the view settings of your plans, sections, elevations, 3D views and detail views. Your view templates should be based on industry standards for the representation of architectural drawings and details and should reflect the graphic style of your practice. Keep your suite of view templates concise with only those that are commonly used on every project. Your view templates should include work in progress, general arrangement of varying scales for plan, sections and elevations, details, 3D views. These standard set of view templates can be built upon and modified according to each of your projects specific requirements.
Families
The template should be populated with your practice’s title blocks that reflect your standards and branding. Setting up the following title blocks: A1 landscape, A1 portrait, A3 landscape and A3 portrait in both titled and blank versions is a good place to start.
The title blocks should have a range of integrated parameters that work with the template and project browser to easily categorise each drawing. Integrated parameters such as a scale bar, north sign, revision schedule and information labels can be contained within your title blocks to allow changes to be made to individual sheets quickly and easily from within your project. The naming and numbering format can be set up such that this information can be scheduled and placed on drawing issue sheets and drawing registers. Title blocks for drawing registers and schedules should also form part of your library and be included in the template.
We recommend placing all your standard title blocks on one sheet in your template and filing it with the rest of your standards so that they are easy to see, select and modify where necessary.
Other key families to include are some system families such as standard walls, floors, roofs and ceilings. Again, it is important to only include the standard versions of each of these that are commonly used across all projects. This is to make sure the template is kept lean and the file size to a minimum.
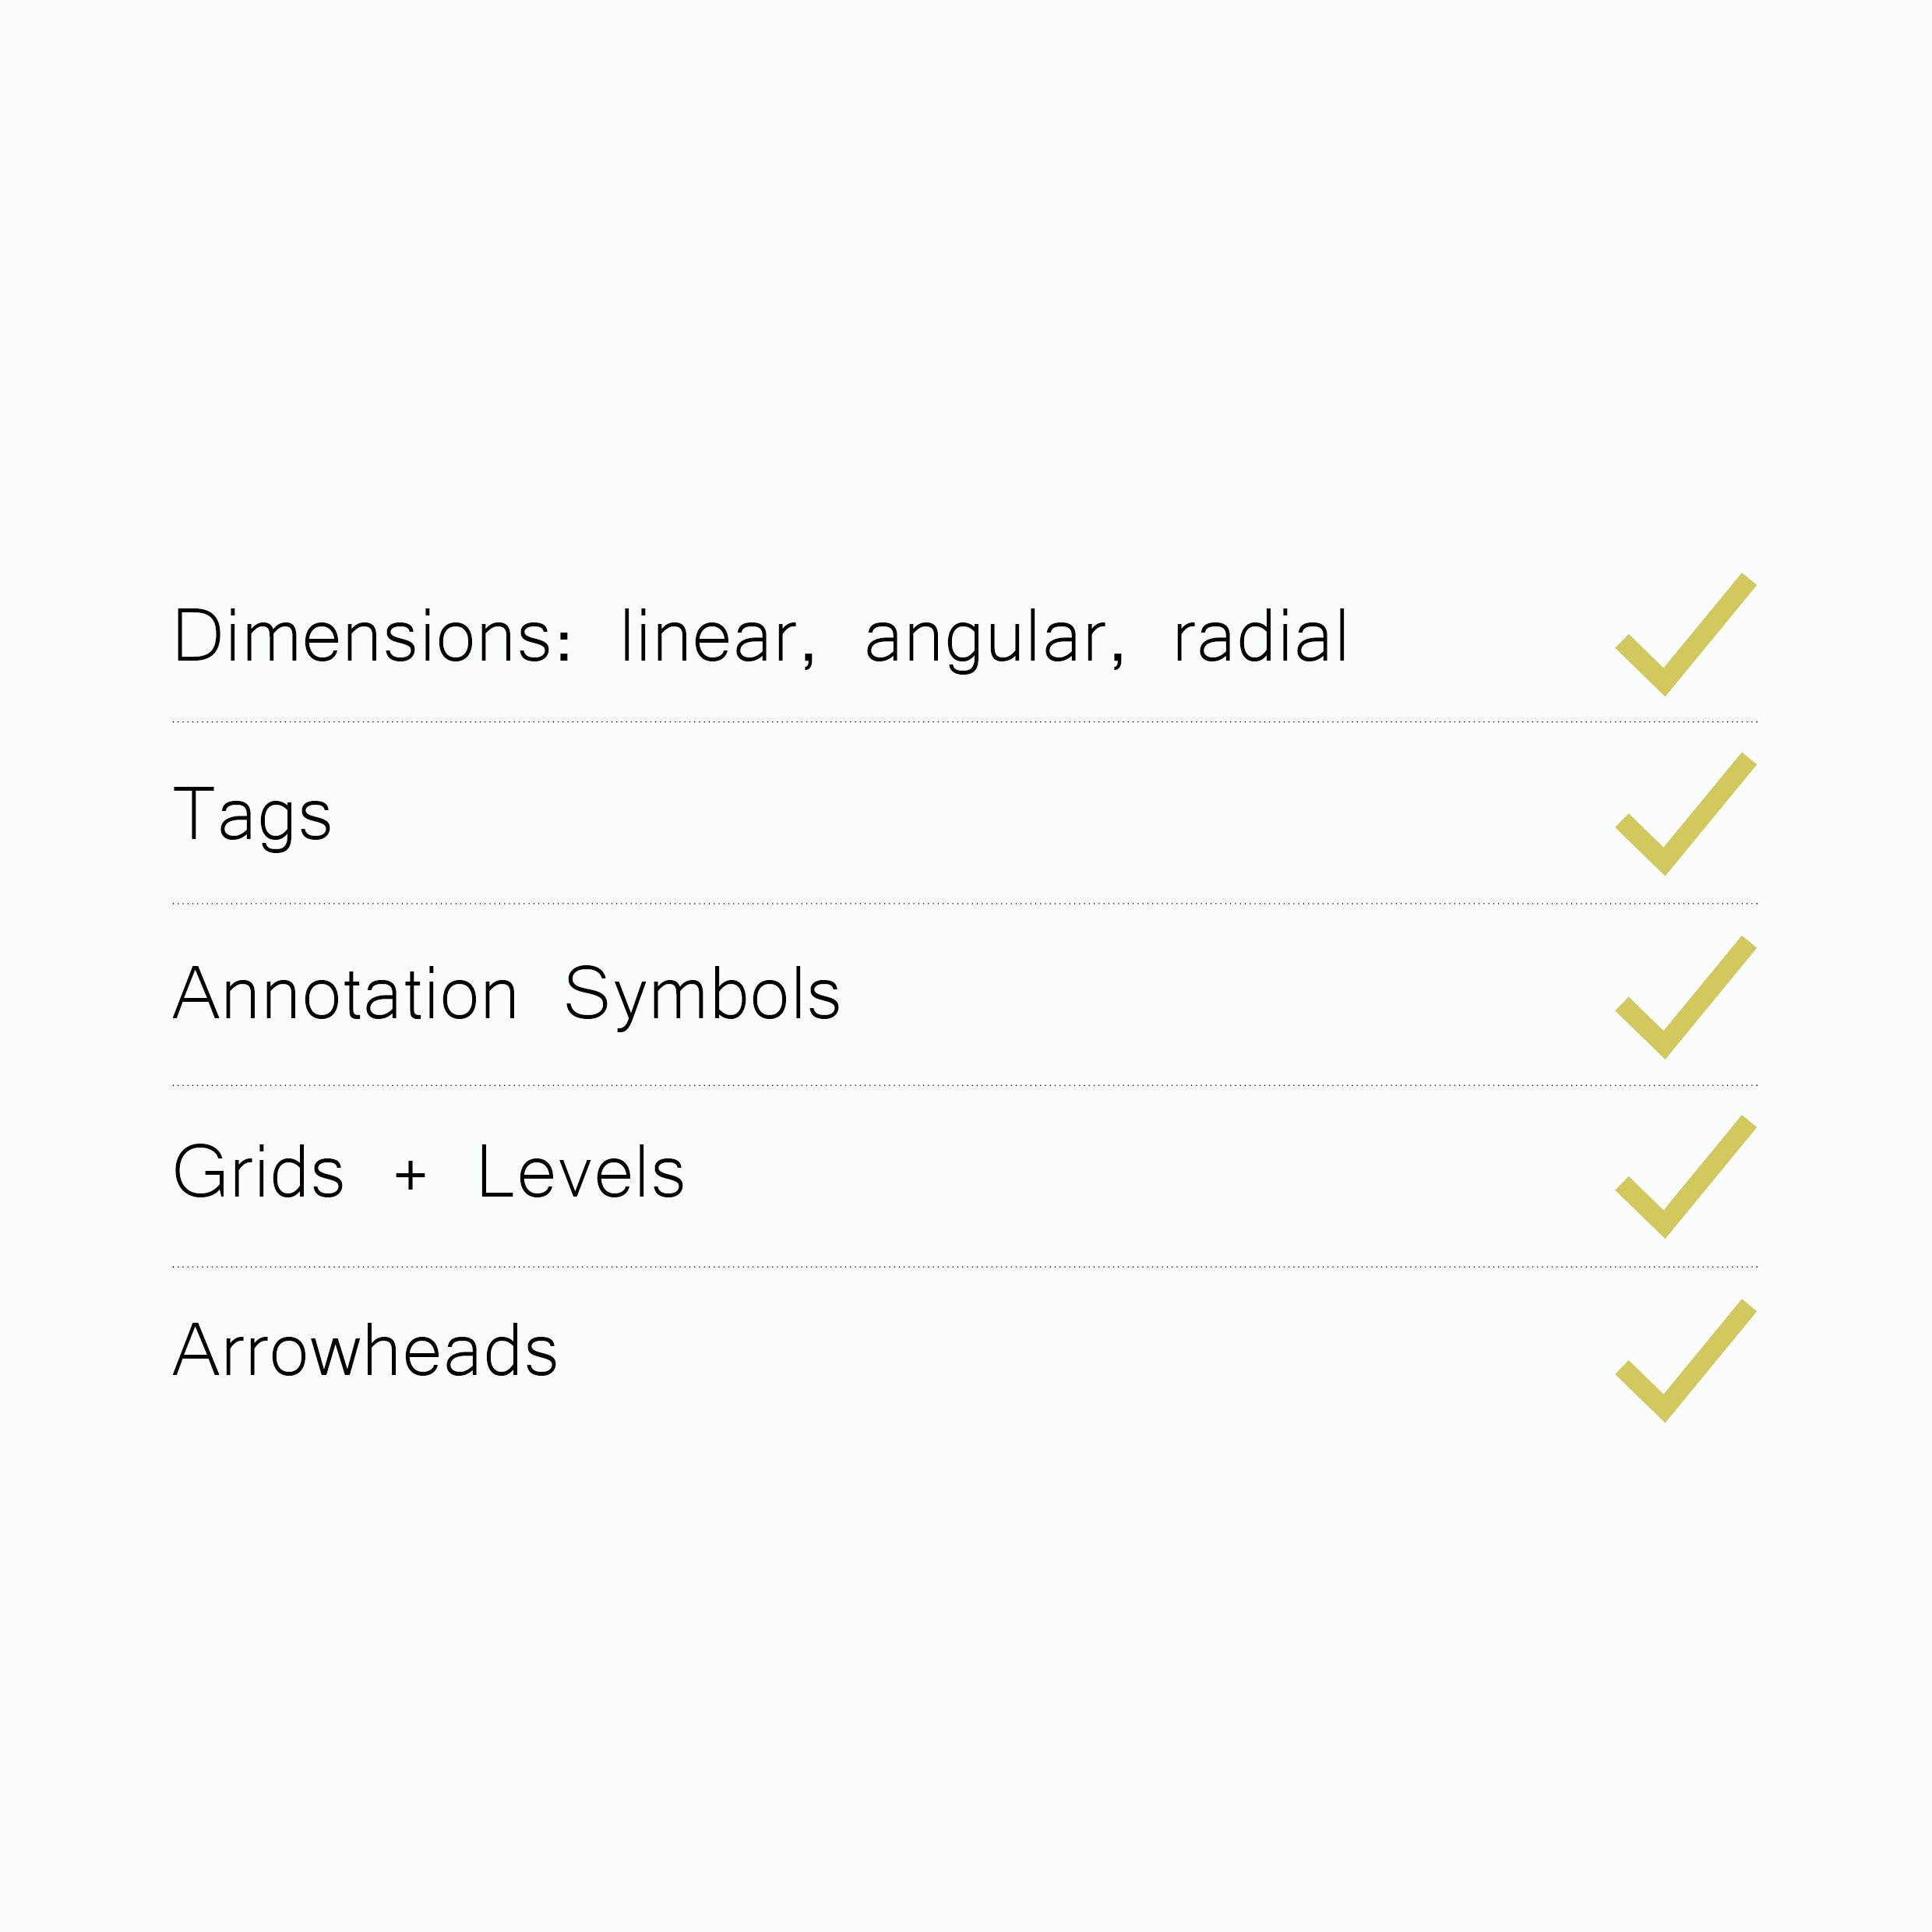
Annotations
An essential part of the template for any new Revit project, is the annotations including tag, dimension, title block and detail item families to use for 2D presentations and drafting. Be careful not to over burden the template with any 2D detail item families that are rarely used or that are specific to only some projects. Again, keeping the template light is the key. The naming of all annotation families should be consistent and follow defined naming conventions so that they are well organised and easy to find as your projects develop and grow in size. Aim to create a full set of graphic tags for your template that will enhance the legibility of your drawings and that are suitable for a variety of different applications and types of drawings.
Further Information
Download our free Revit Template Checklist below for more information on how to build a Revit template from scratch.
To save yourself the time and effort of creating a Revit template from scratch, we have done all the work for you! Through rigorous testing and development we have built a full Revit Graphic Template for purchase. To learn more about our custom made tempaltes, download our free Revit Template Guide from our home page. Visit our home page or our LinkedIn page for further information.
This website uses cookies so that we can provide you with the best user experience possible. Cookie information is stored in your browser and performs functions such as recognising you when you return to our website and helping our team to understand which sections of the website you find most interesting and useful.
Strictly Necessary Cookies
Strictly Necessary Cookie should be enabled at all times so that we can save your preferences for cookie settings.
If you disable this cookie, we will not be able to save your preferences. This means that every time you visit this website you will need to enable or disable cookies again.